Chinese yellow rice wine (黄酒) making was something I had wanted to try for a long time. I eventually got round to having a go at it on a public holiday when I made a date with mum and got her to come over to teach me the process.
The ingredients were minimal and uncomplicated, and the process was a lot easier than I thought. The best thing was it only took me 2 weeks before I harvested my first few bottles of sweet rice wine and it was a success, I did it!!!
Here’s how it went…
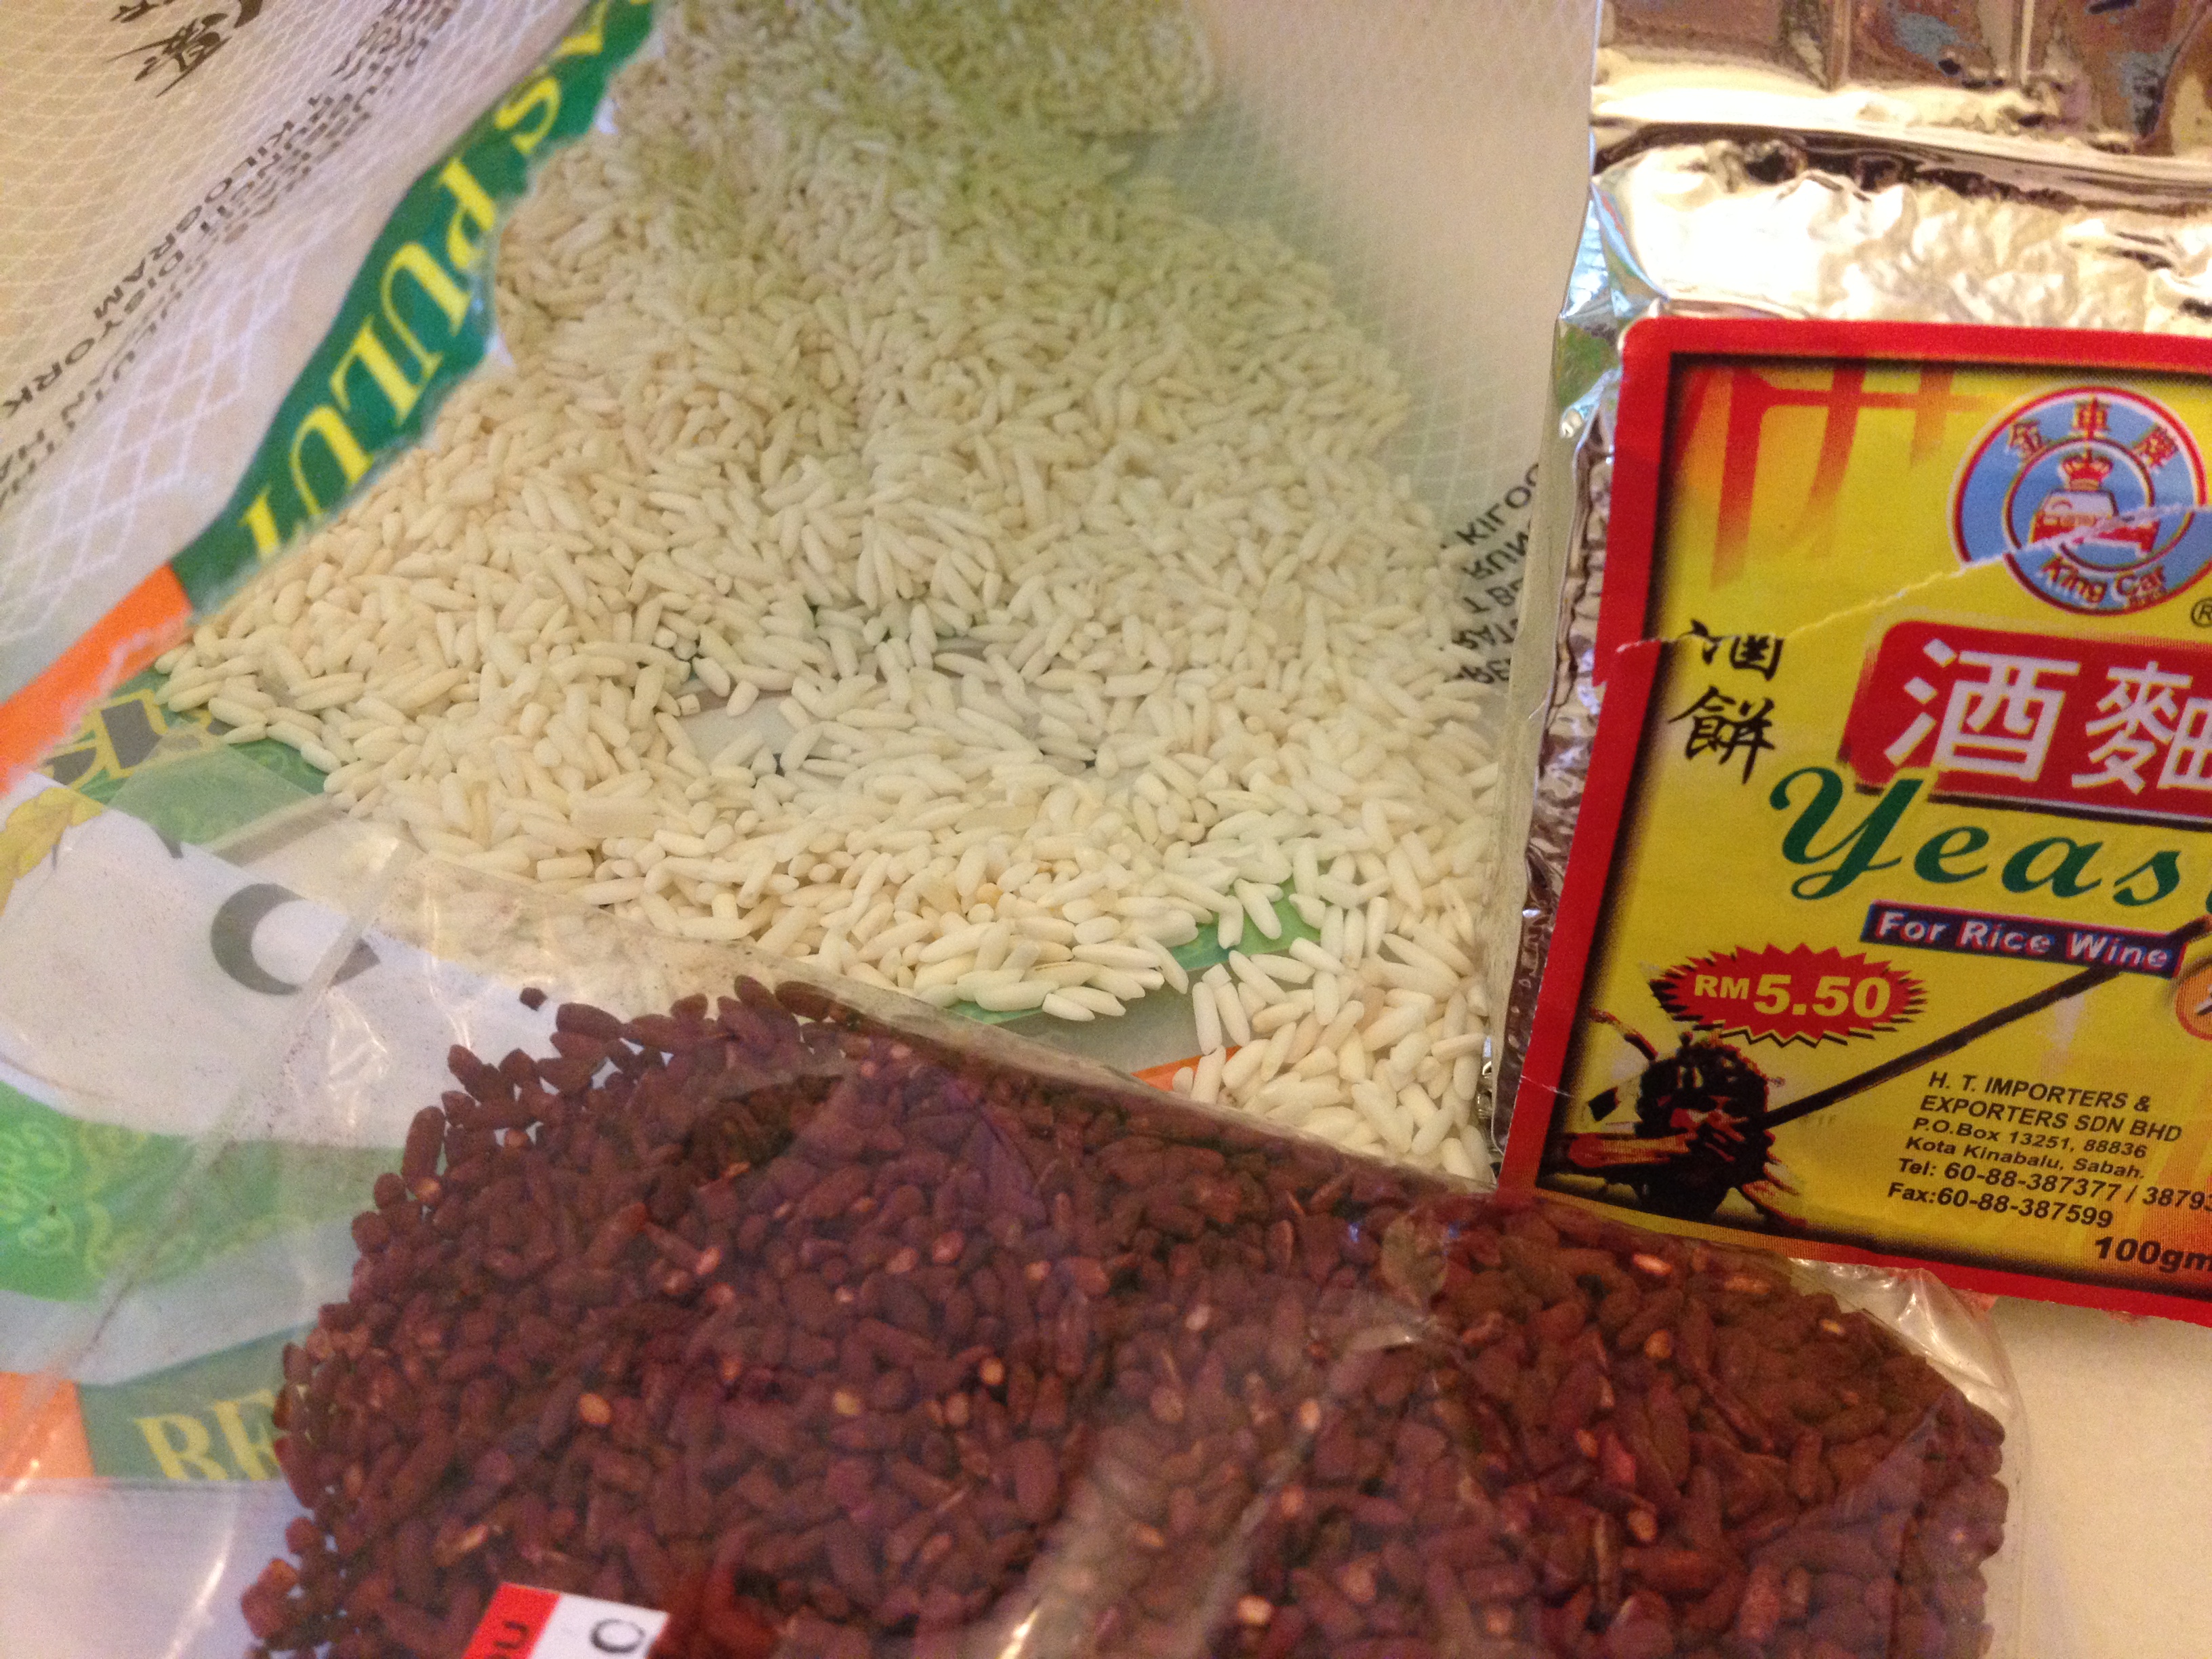 the basic ingredients – glutinous rice, rice wine yeast and red rice yeast
The first step was to cook the glutinous rice and then spread it out on flat containers to let it cool. I was so excited when my project went underway that I forgot to take pictures of how I put the rice out for the cooling process.
Since it was my first attempt so I decided to start small with only 5 kg of rice. Besides, I thought the pot I was going to use (a flower pot!) was not really that big anyway and I needed some room in the pot for the fermented rice to expand.
Getting the rice cooked and then let it cool was the most time-consuming step. Although I had 2 rice cookers (mum brought along hers) working simultaneously, I still had to do two rounds to get the 5 kg of rice cooked. I guess the time would be cut short if I had a huge rice cooker!
 the red rice yeast
In addition to the rice wine yeast, red rice yeast was used to give the rice wine the colour that it should have.
The lady at the Chinese shop where I got the yeast told me that for 5 kg of glutinous rice I should only use half of each of the yeast as the packets were for 10 kg of rice. So I measured it carefully before I worked on the red rice yeast.
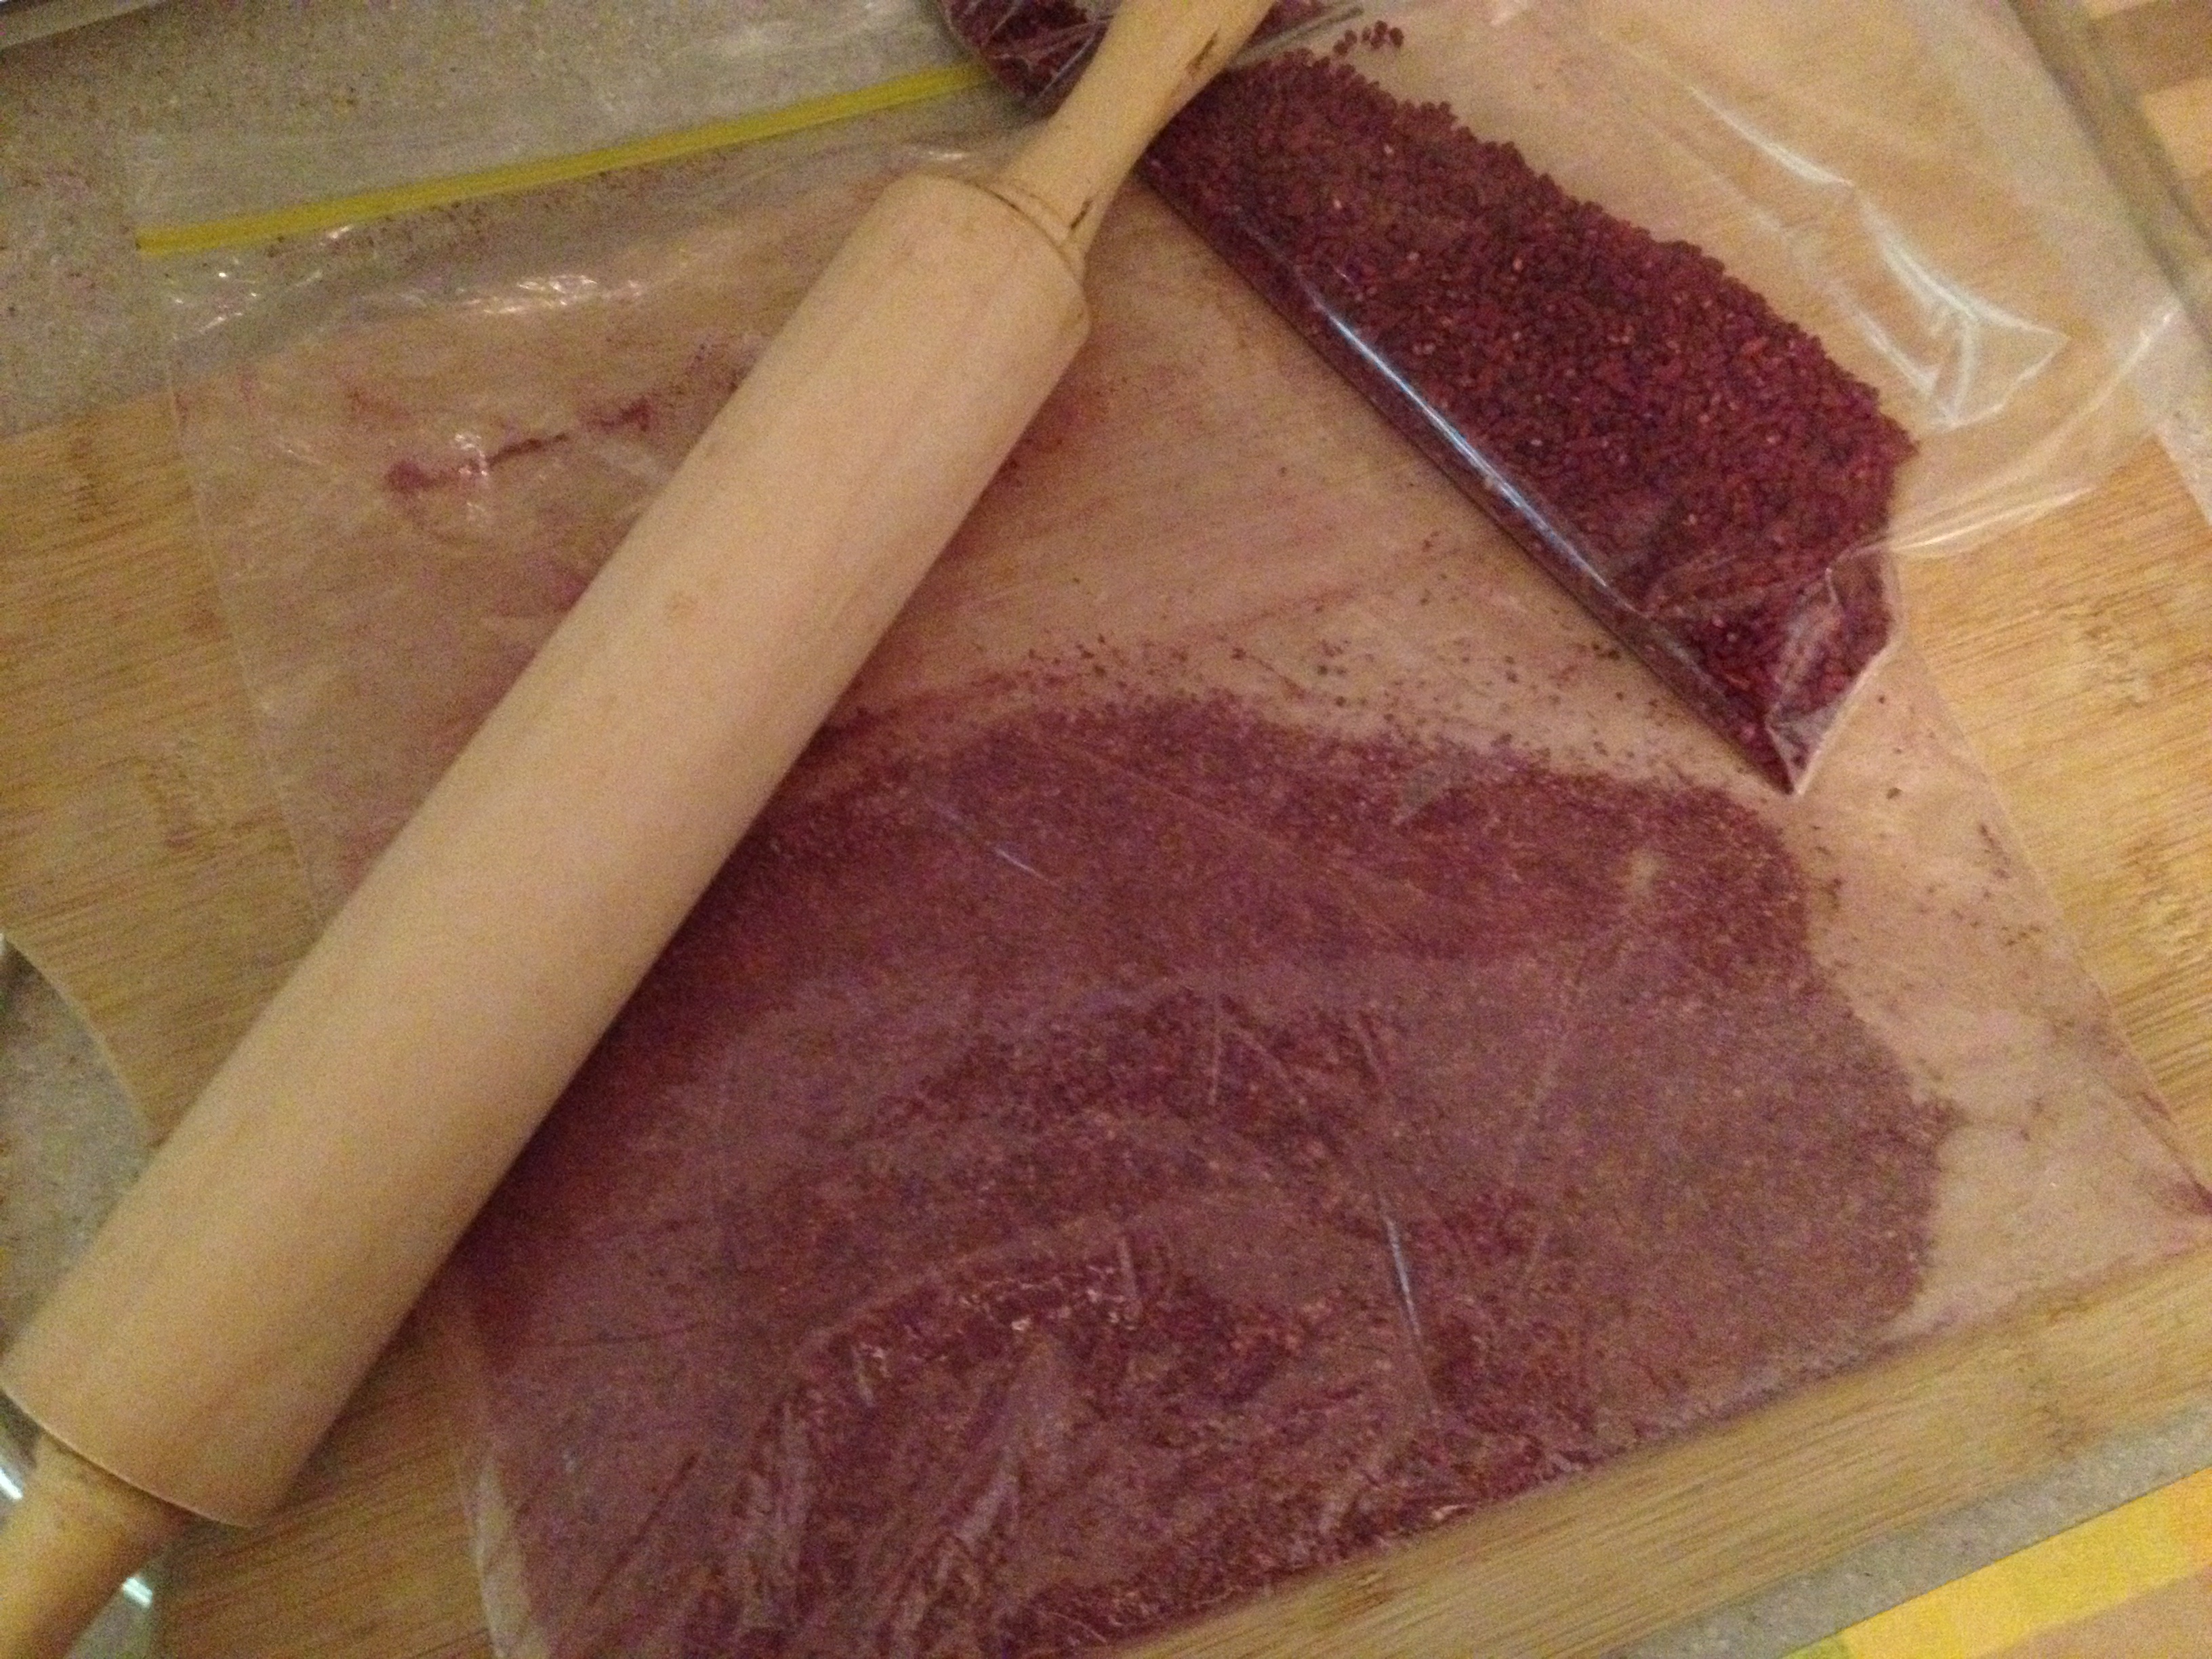 crushed the red rice yeast
Mum was used to the white yeast in biscuit form but the lady at the shop said they didn’t sell them anymore and the yeast now comes in powder form in a packet. Mum really wasn’t sure about it but what the heck, we were going to use it anyway!
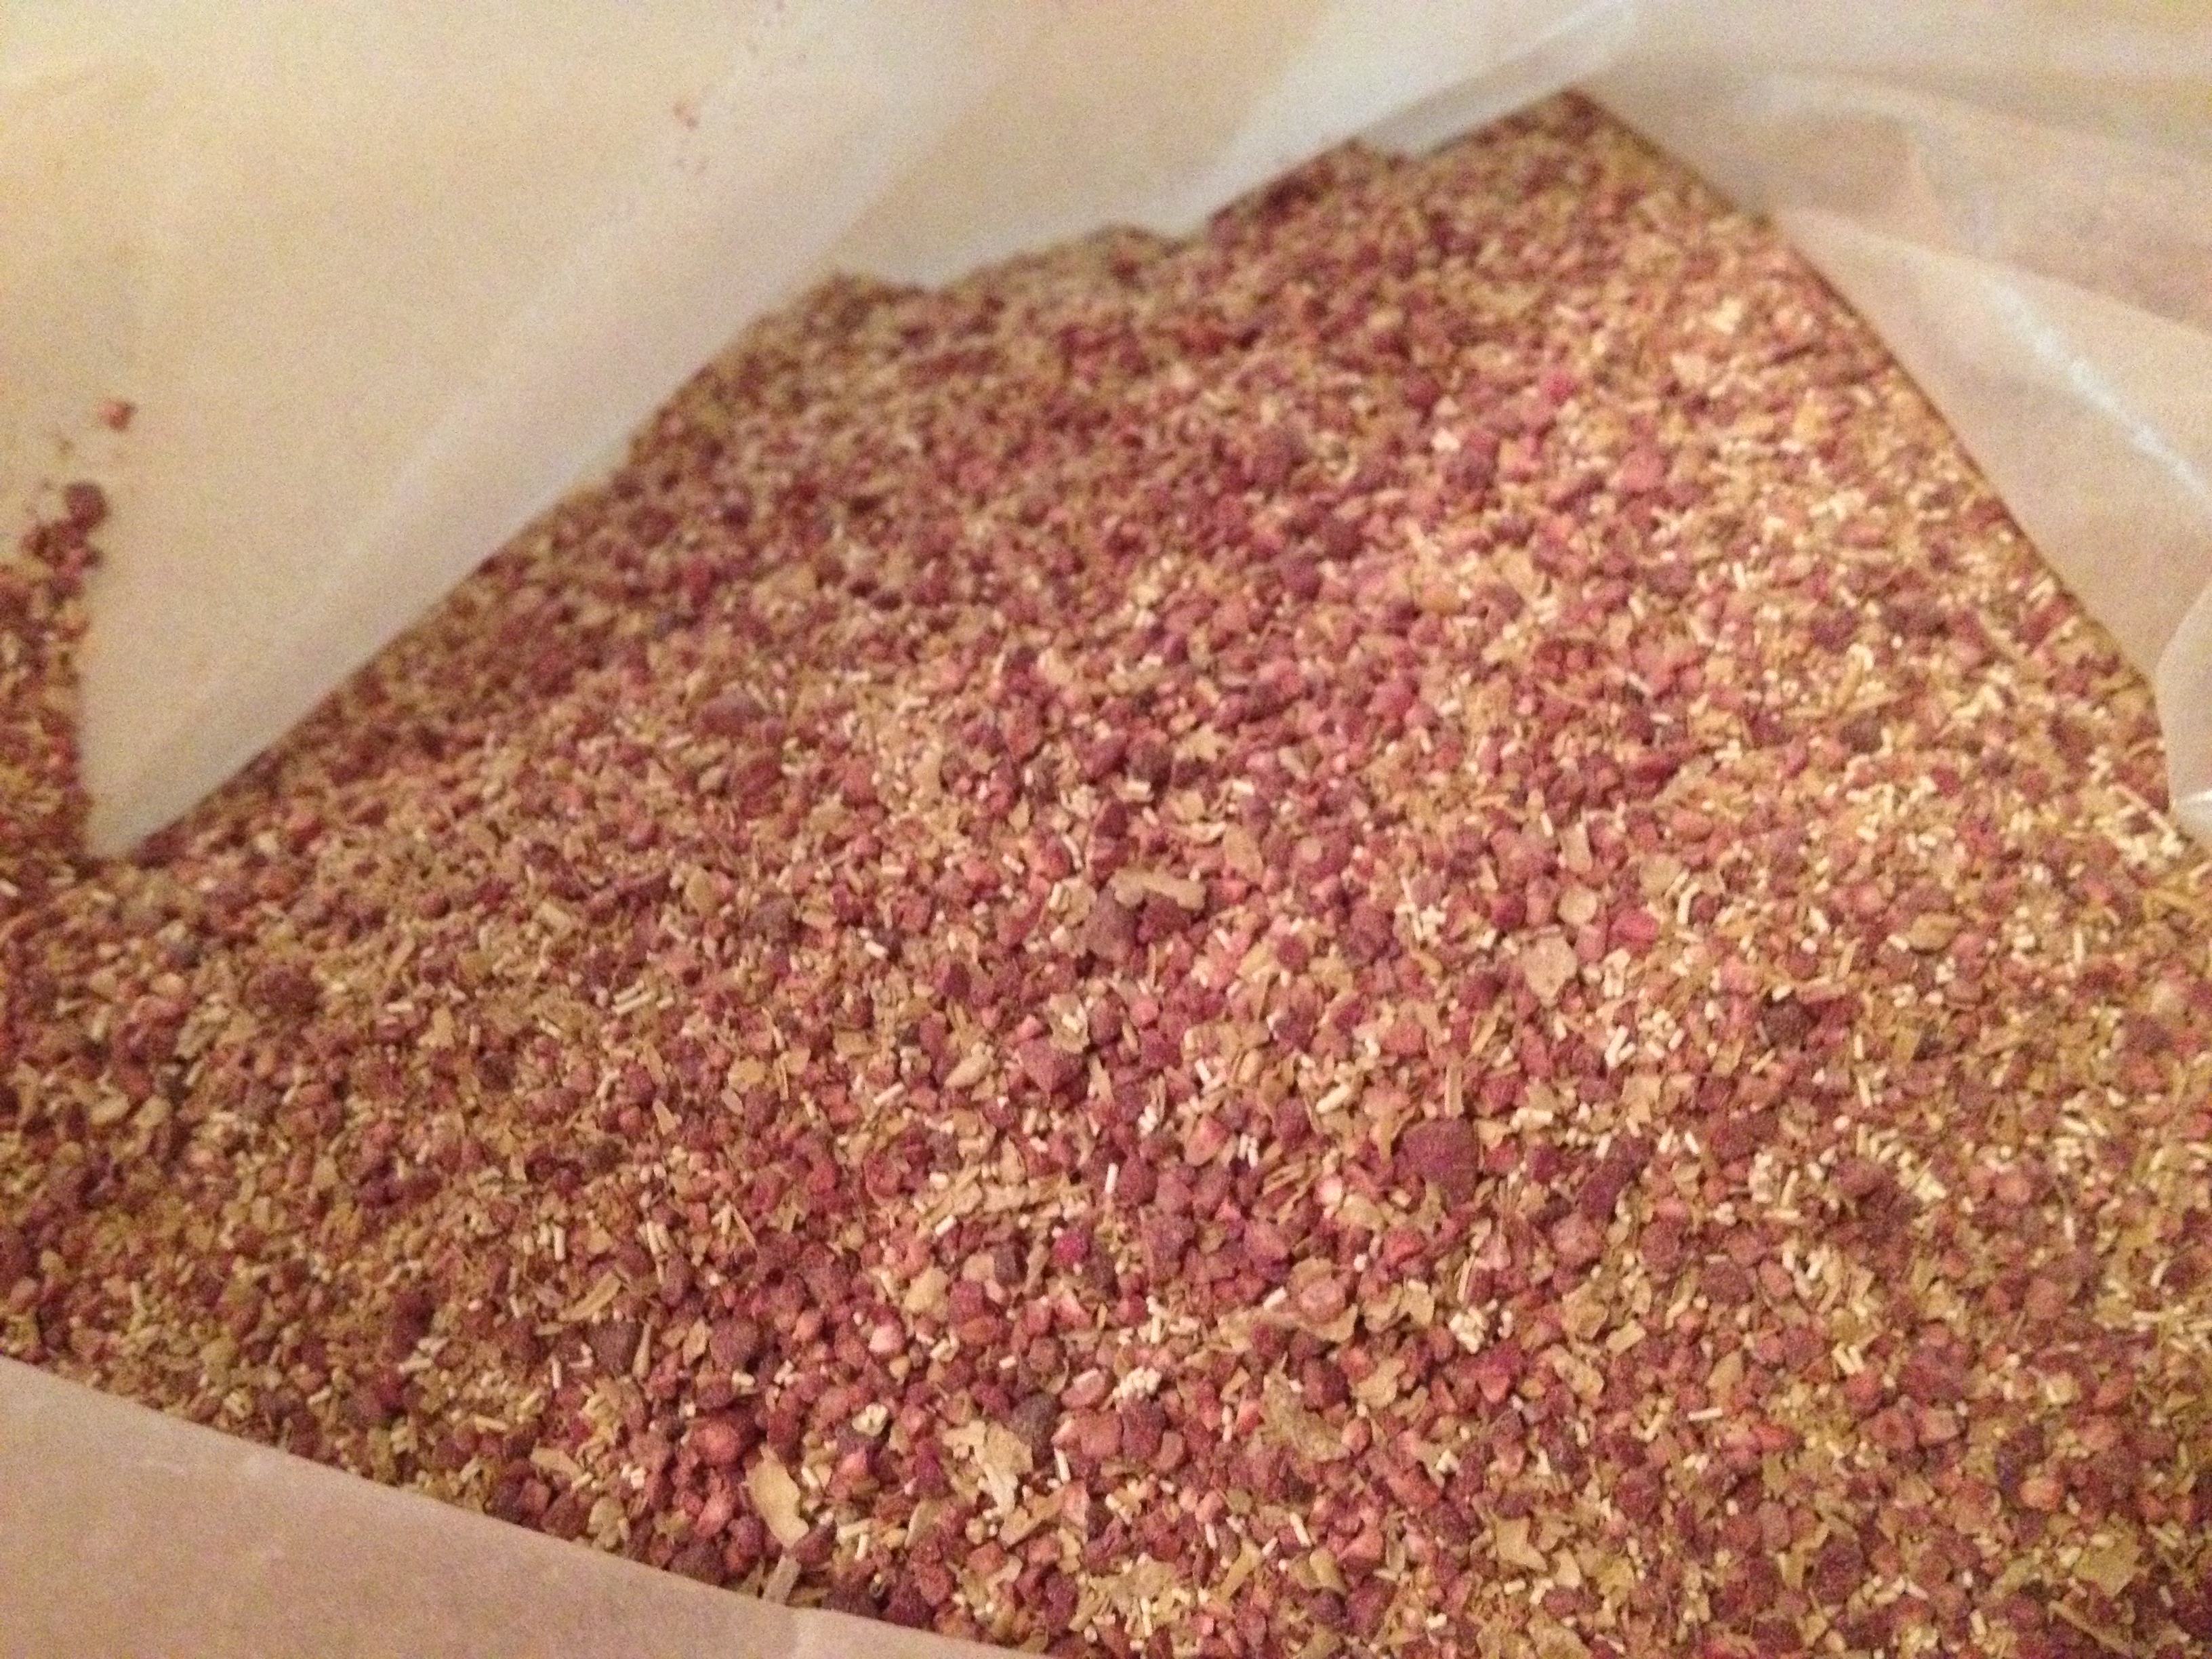 mixed the two types of yeast
We watched a bit TV while waiting for the rice to cool and eventually it was time to work on the next step…
 a layer of rice, then a layer of yeast mixture…
 layers of rice and yeast all in…
last step…
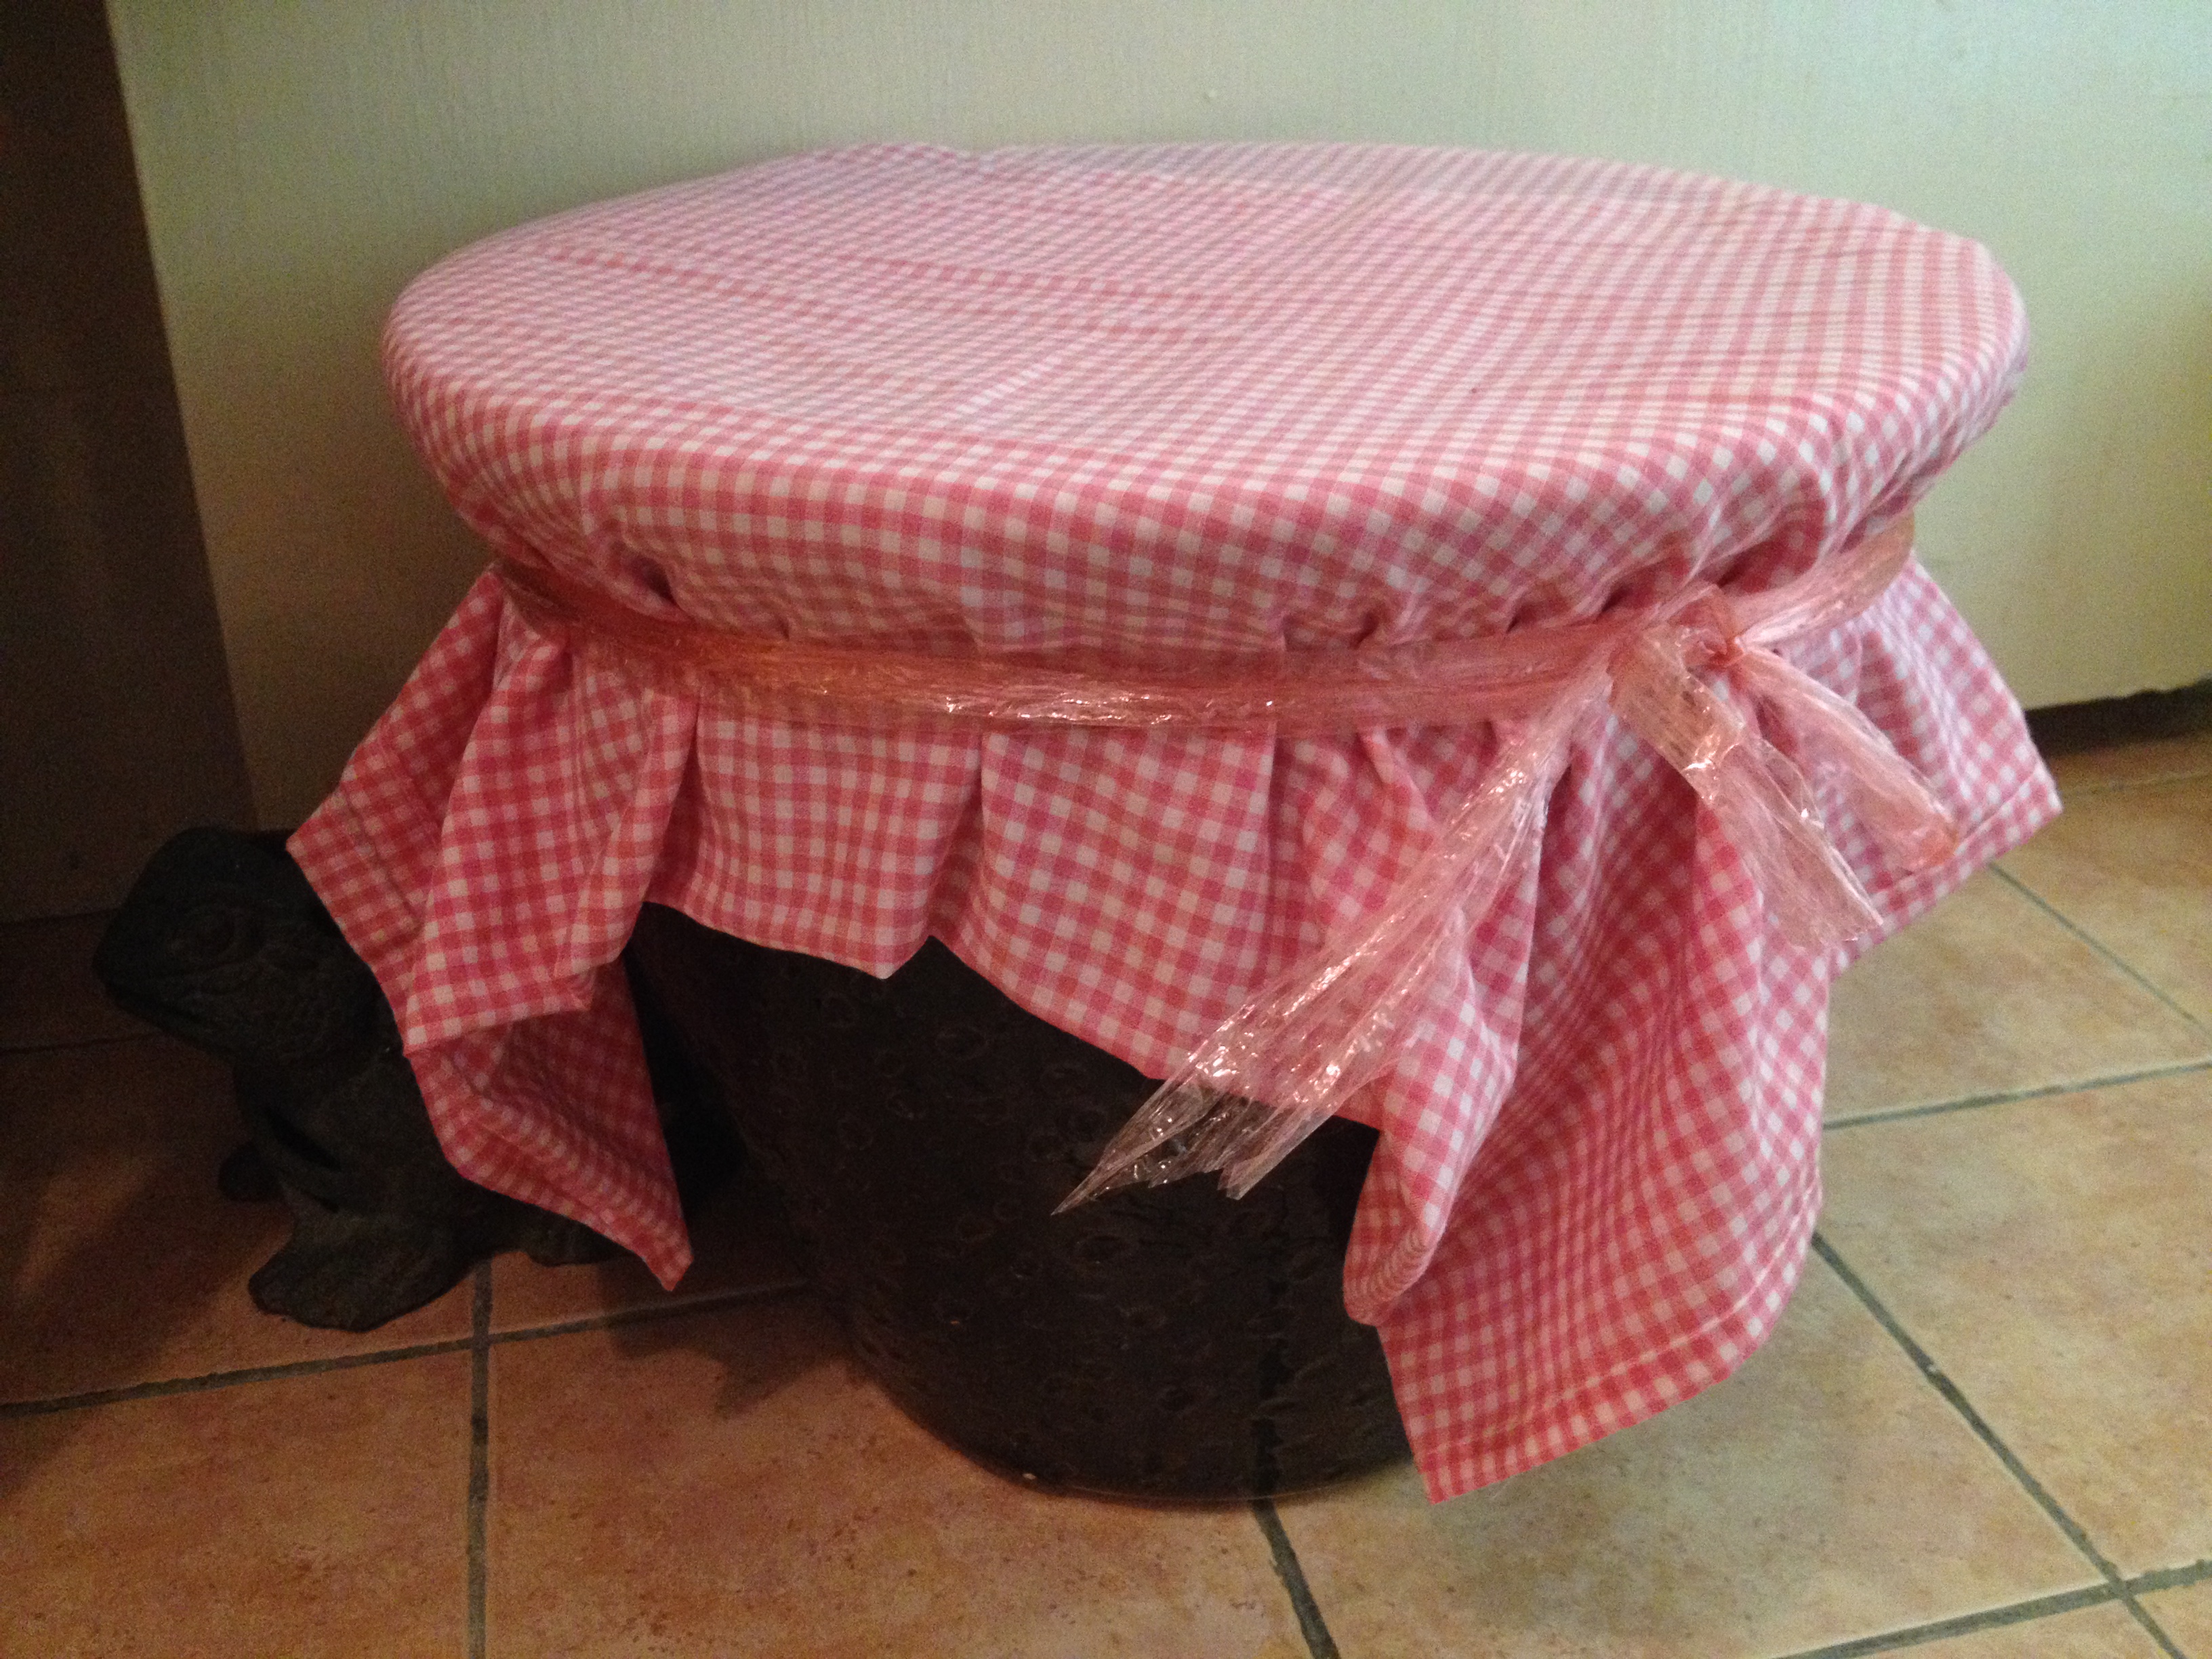 mum brought along a piece of gingam fabric and I got a piece of raffia string from my storeroom
Once done we just left the pot in a quiet corner where it was cool.
Now all I needed to do was wait… I remained patient throughout and managed to curb my curiosity to take a peep during the fermentation process as I did not want anything to get into the pot and cause the rice to go moldy.
It did not take long for the fermentation process to take place as when I got home the next day after work I could smell the wine… or was it just an illusion? In the next few days I knew it was no longer an illusion as I could even smell the wine outside of my main door!
The lady at the shop told me that the fermentation process would be a lot faster now using the powder yeast than using the old yeast biscuits and I could start harvesting after 10 days (maximum 15 days she said or the wine might turn sour if left longer than that) but I waited for 14 days before I “unveiled” my pot of Chinese rice wine…
But first, I had to get this ready…
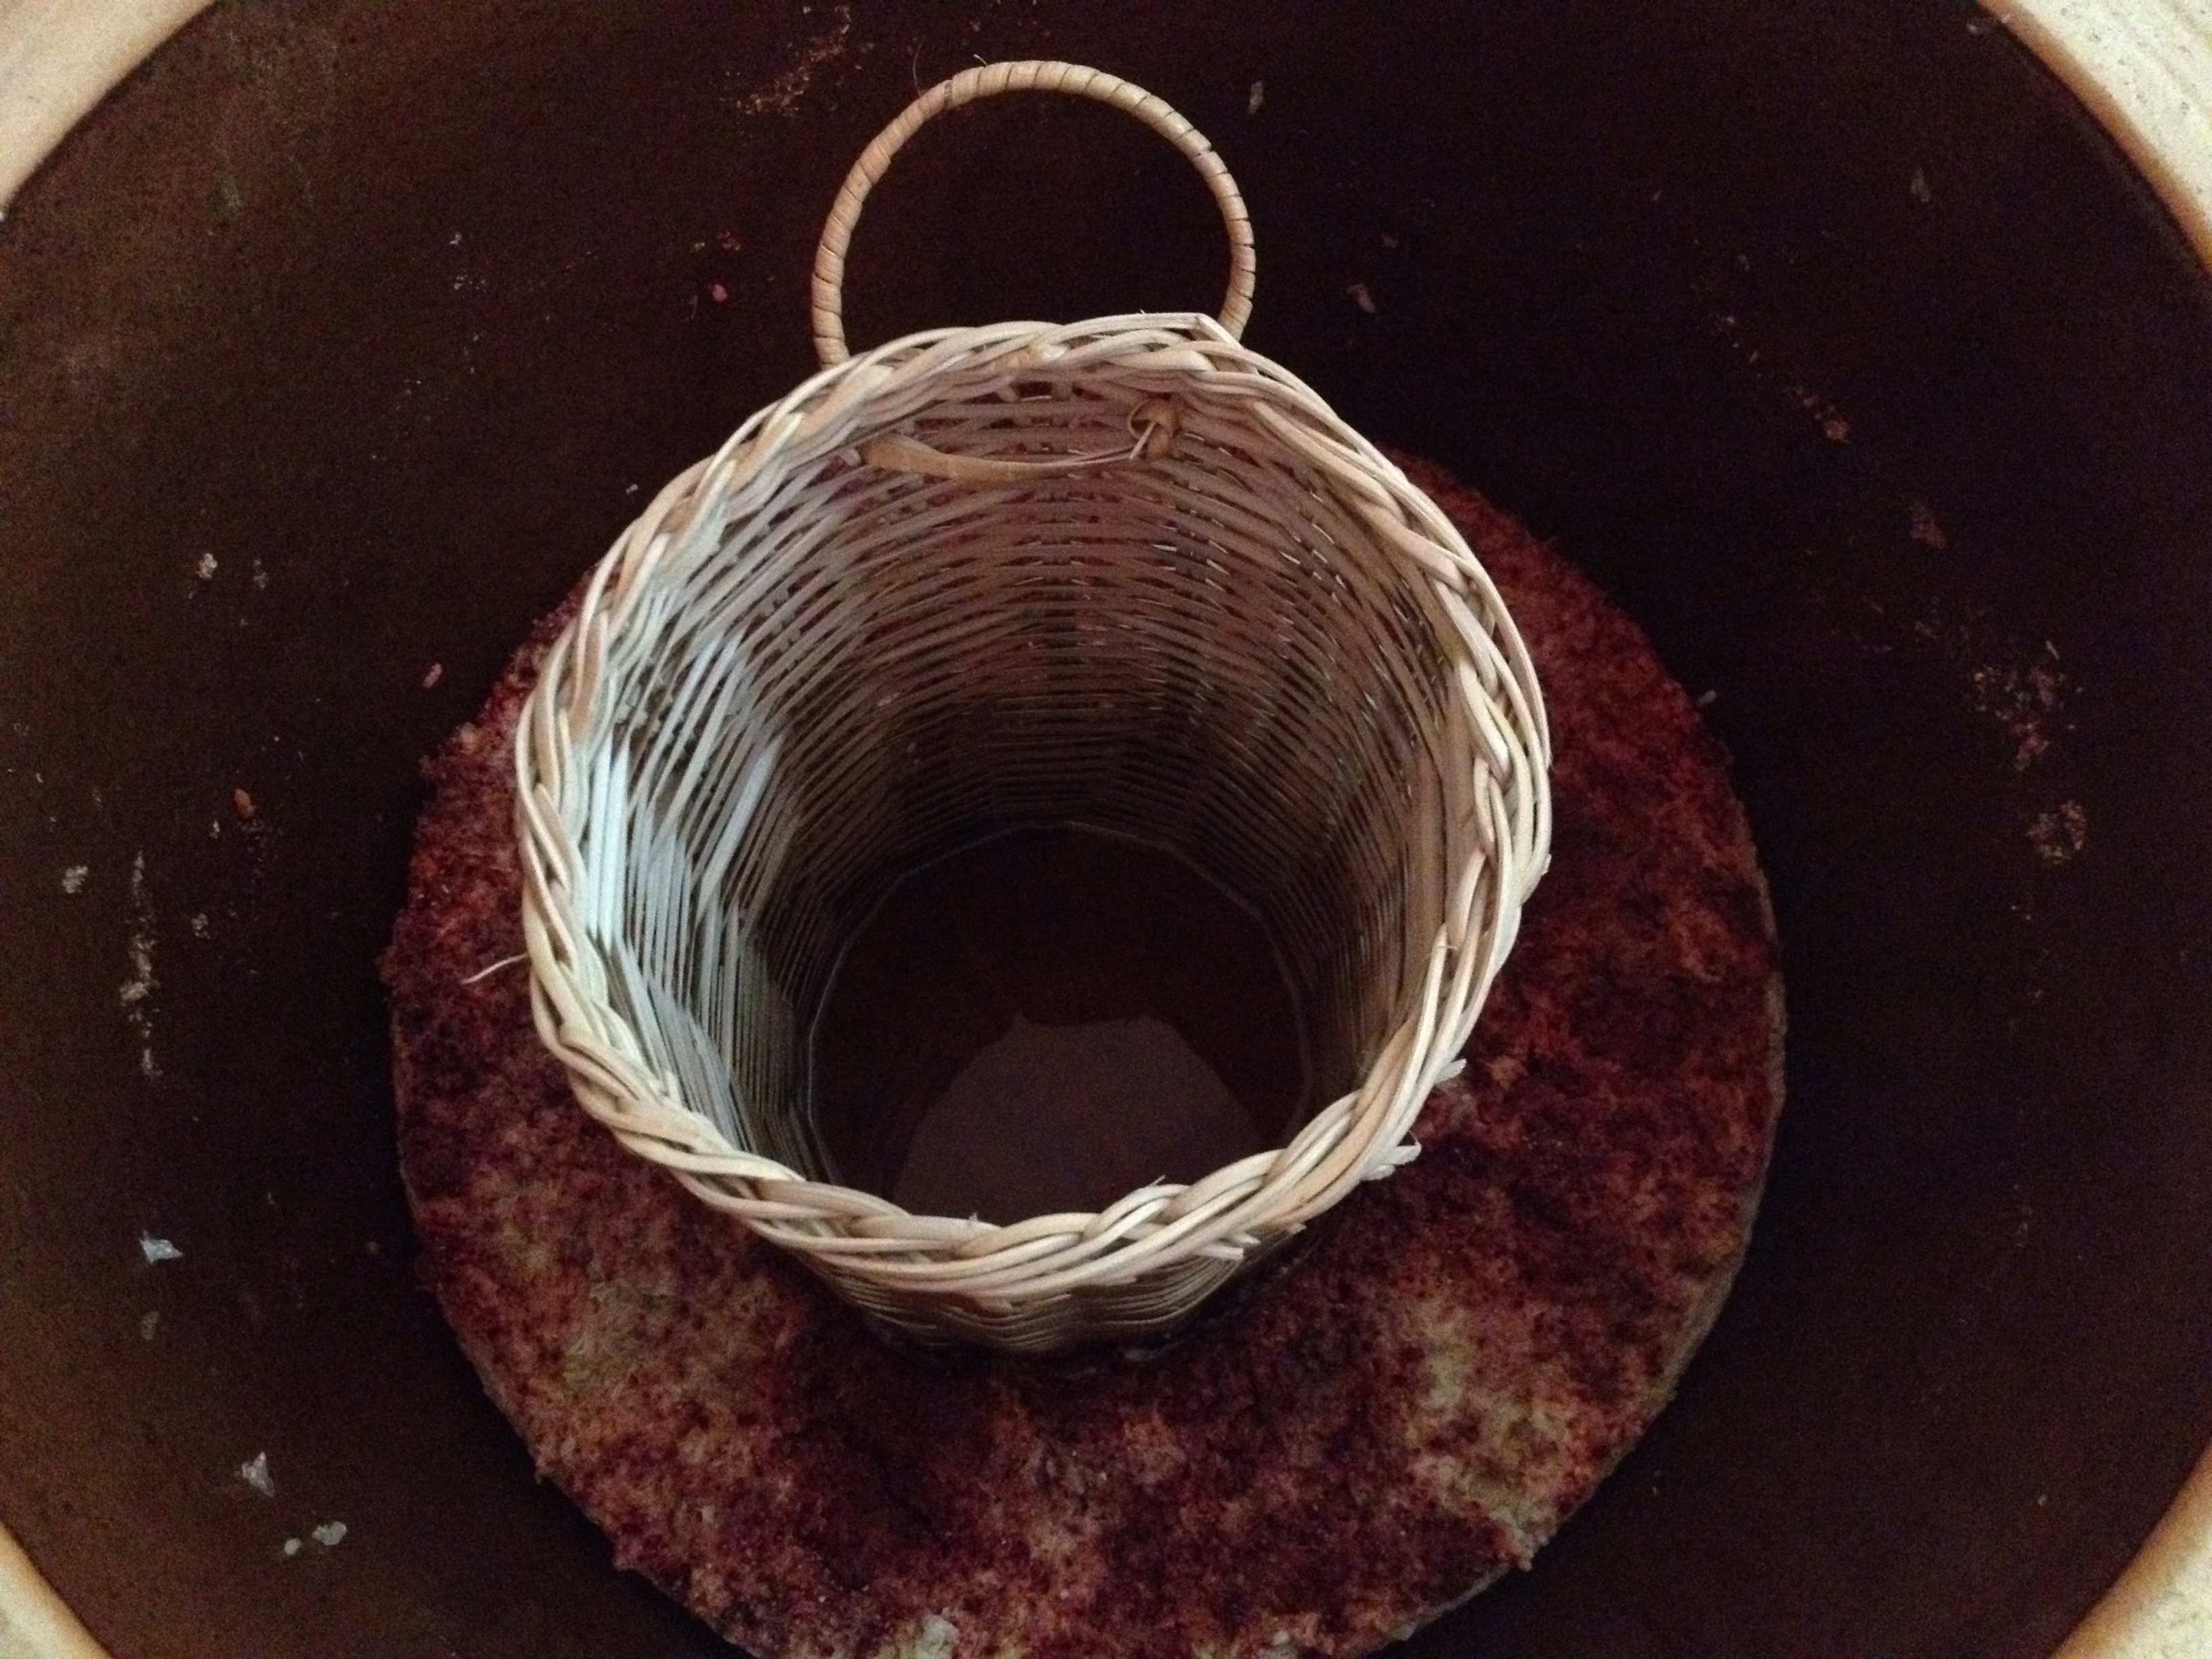
 bamboo sieve for rice wine, washed and dried on an earlier occasion
I bought the sieve in a recent visit to the local craft fare. What a blessing it was to have found it without having to go round to look for one!
The unveiling…
 ta-dah!
The rice was fermented and no mold! Wonderful! Now just let me insert the sieve…
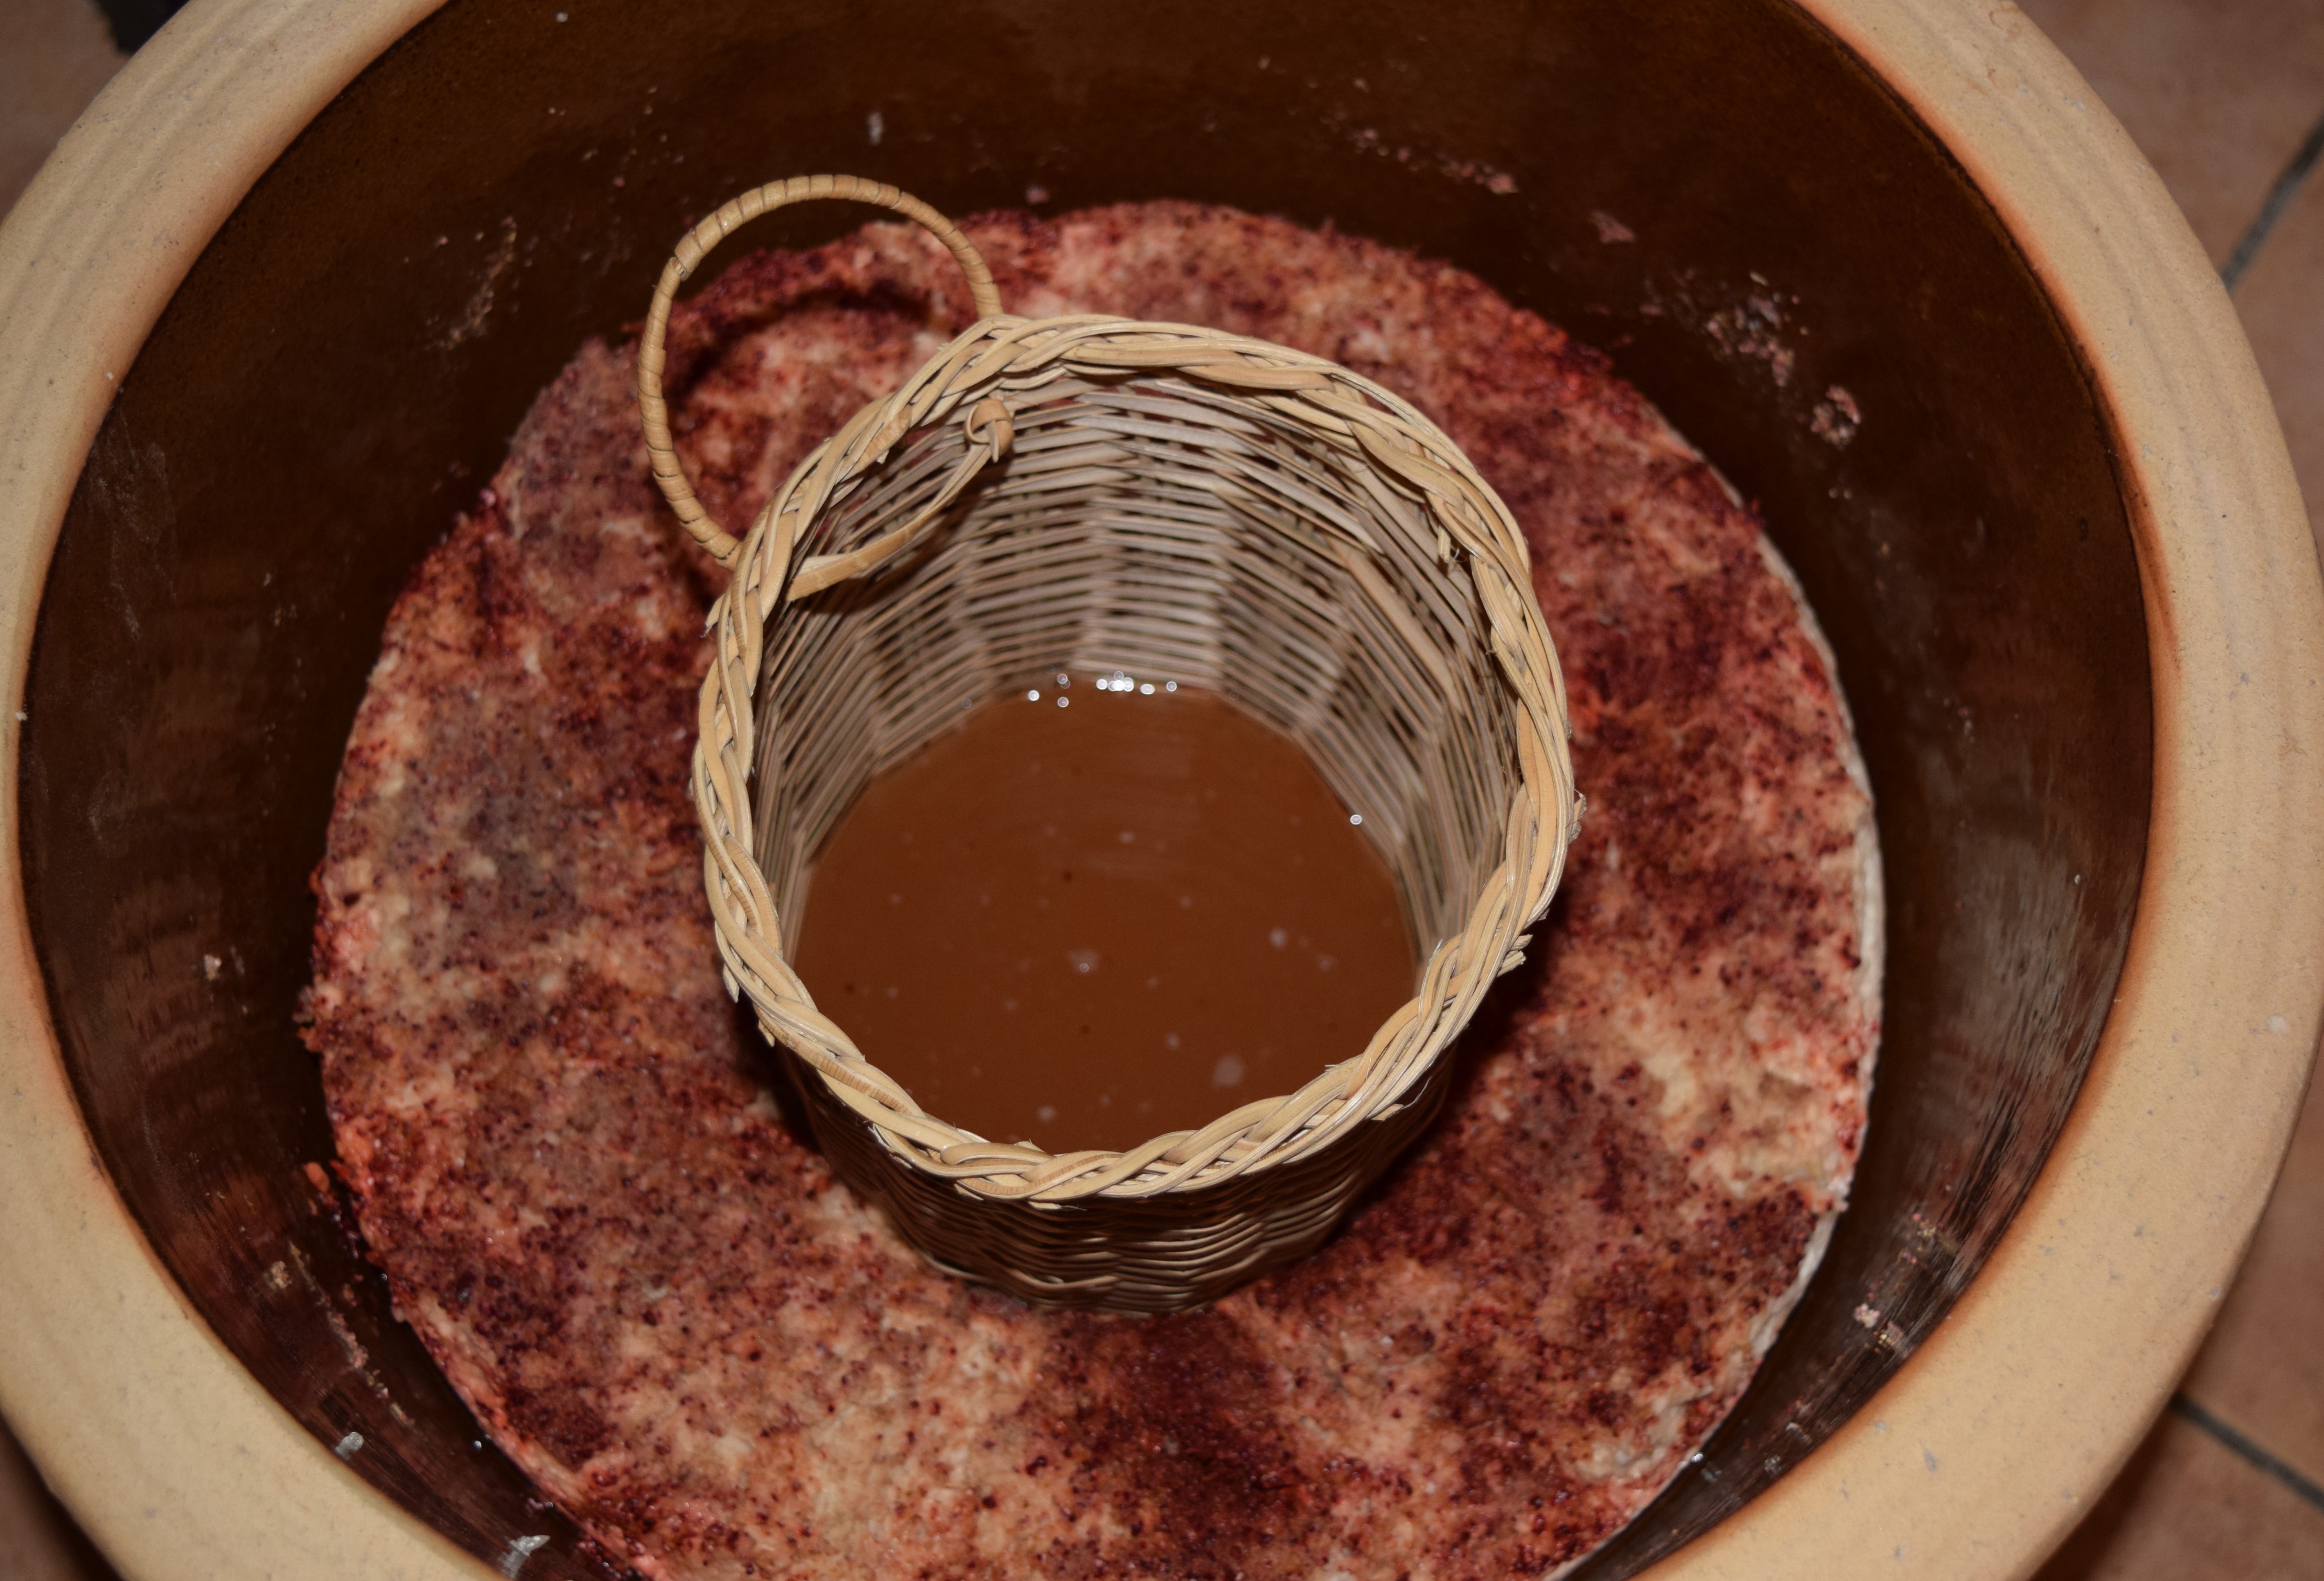 wow! there is wine!!!
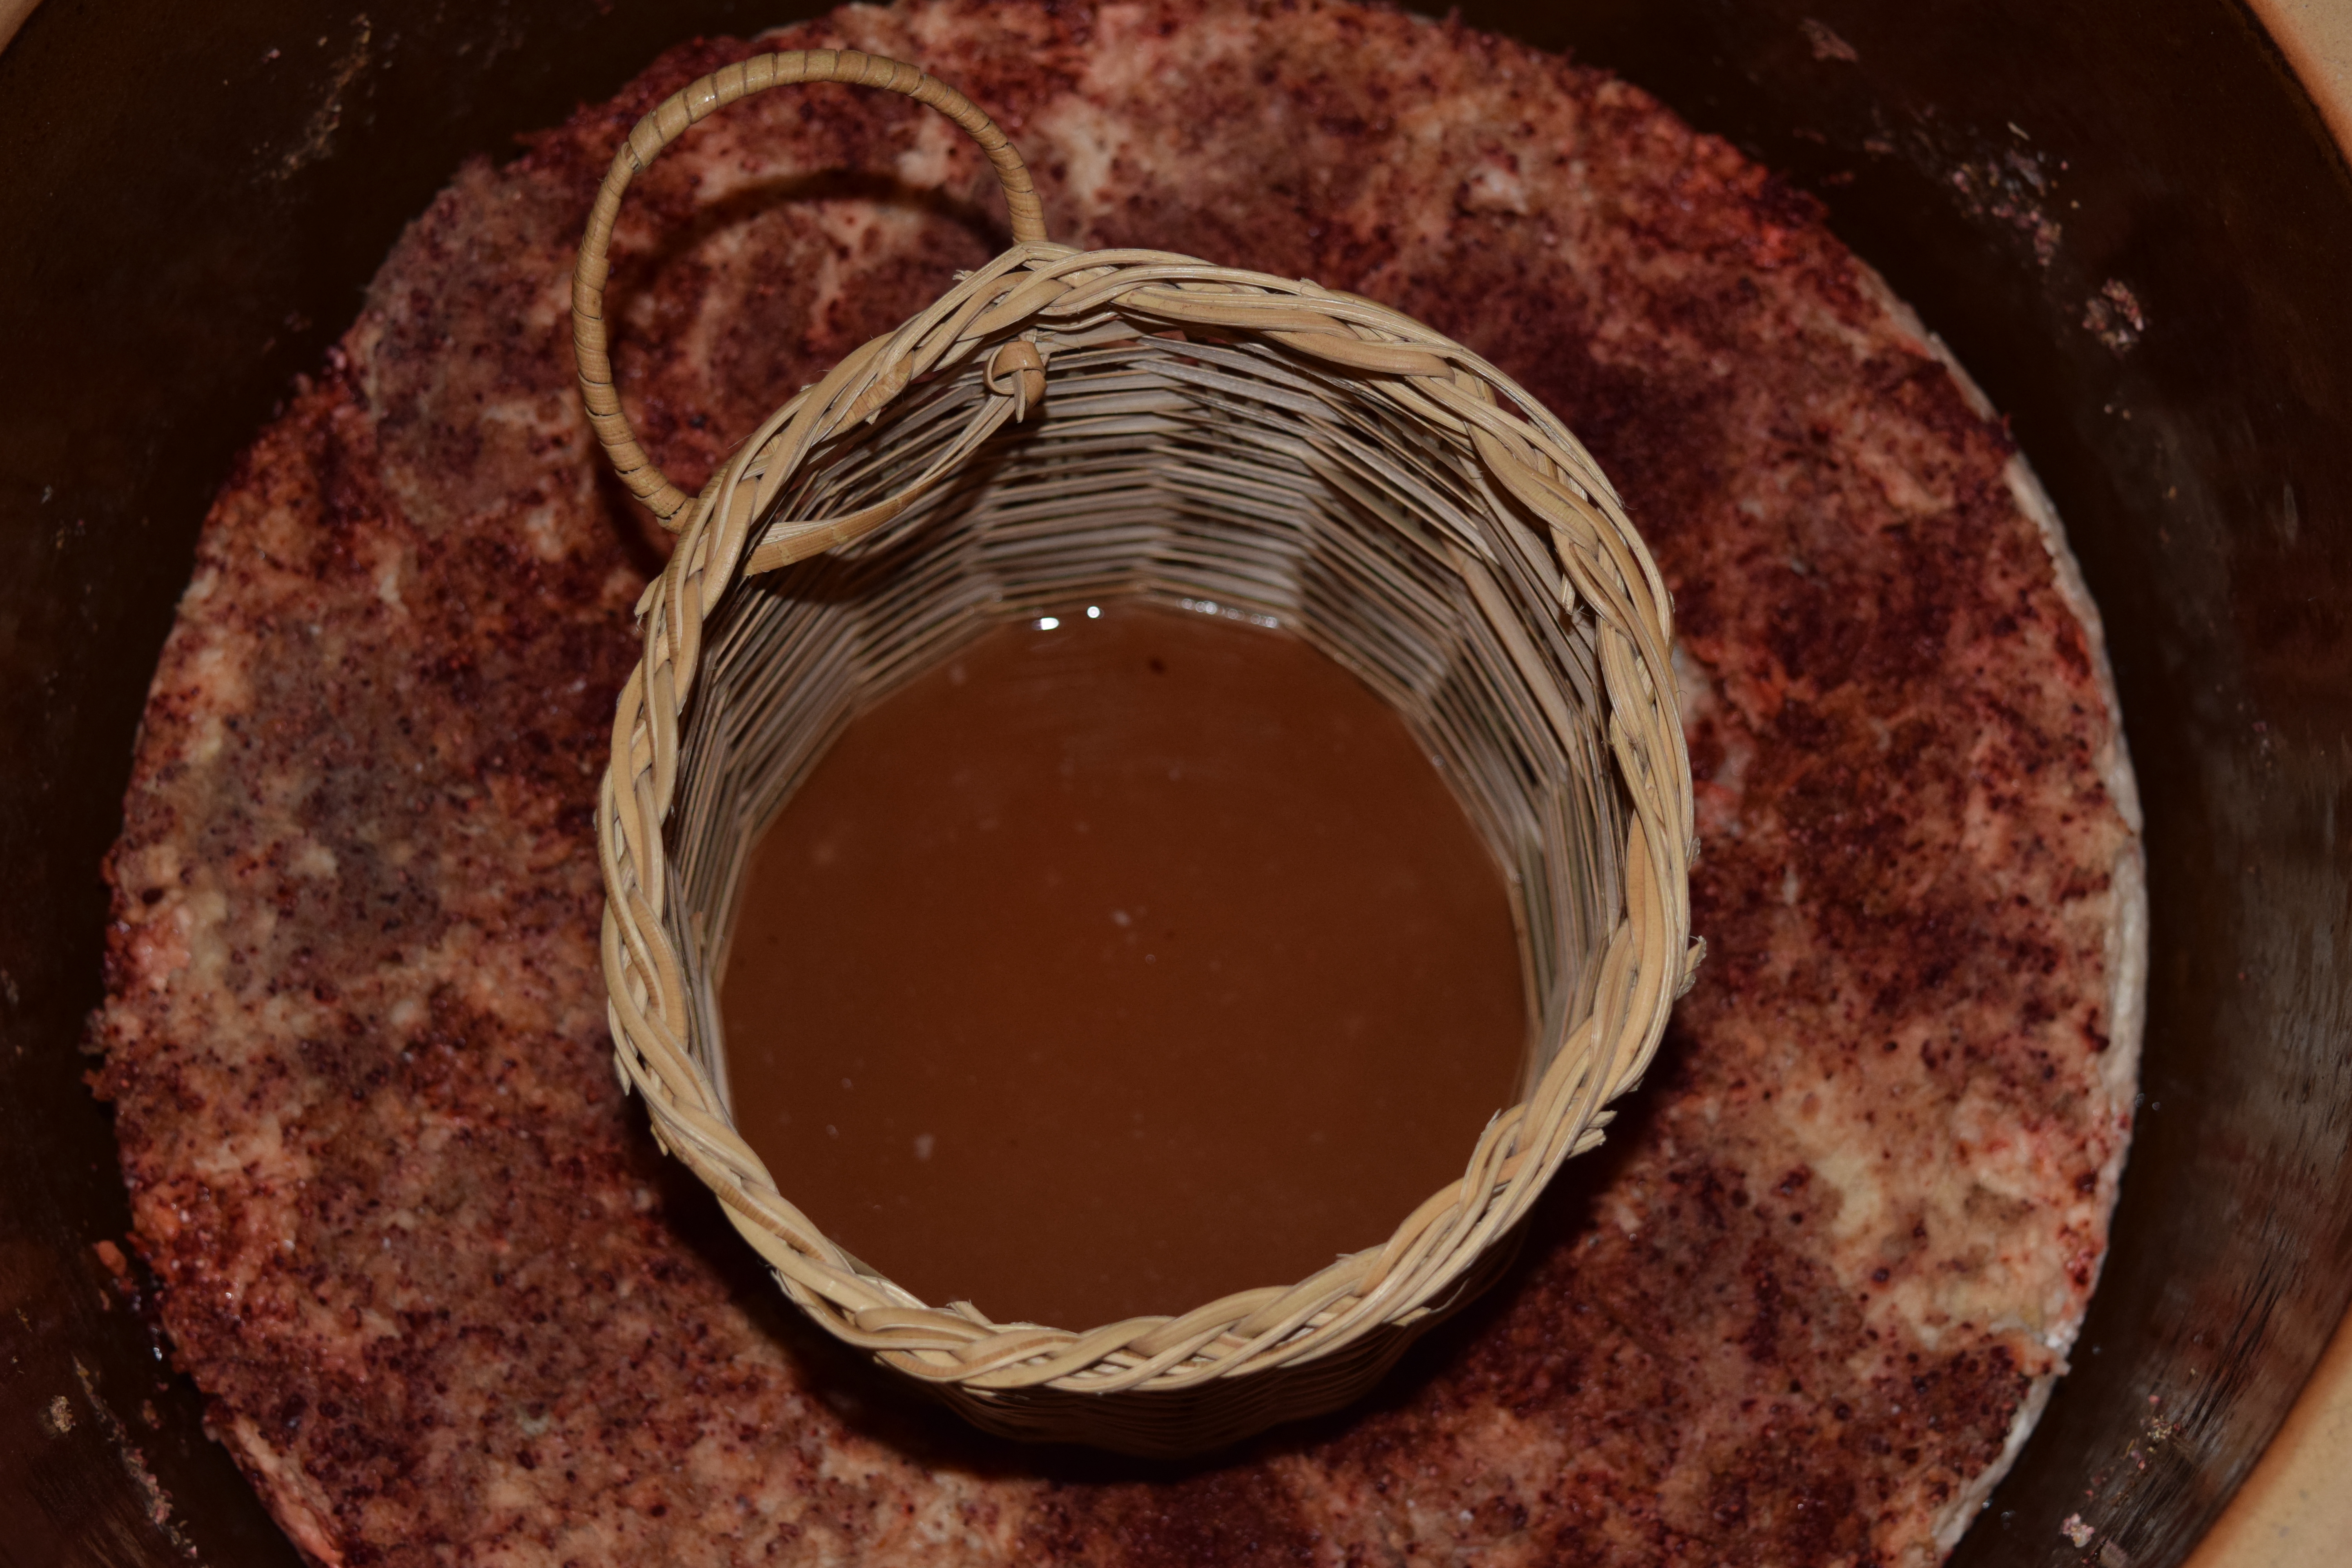 lots of wine!
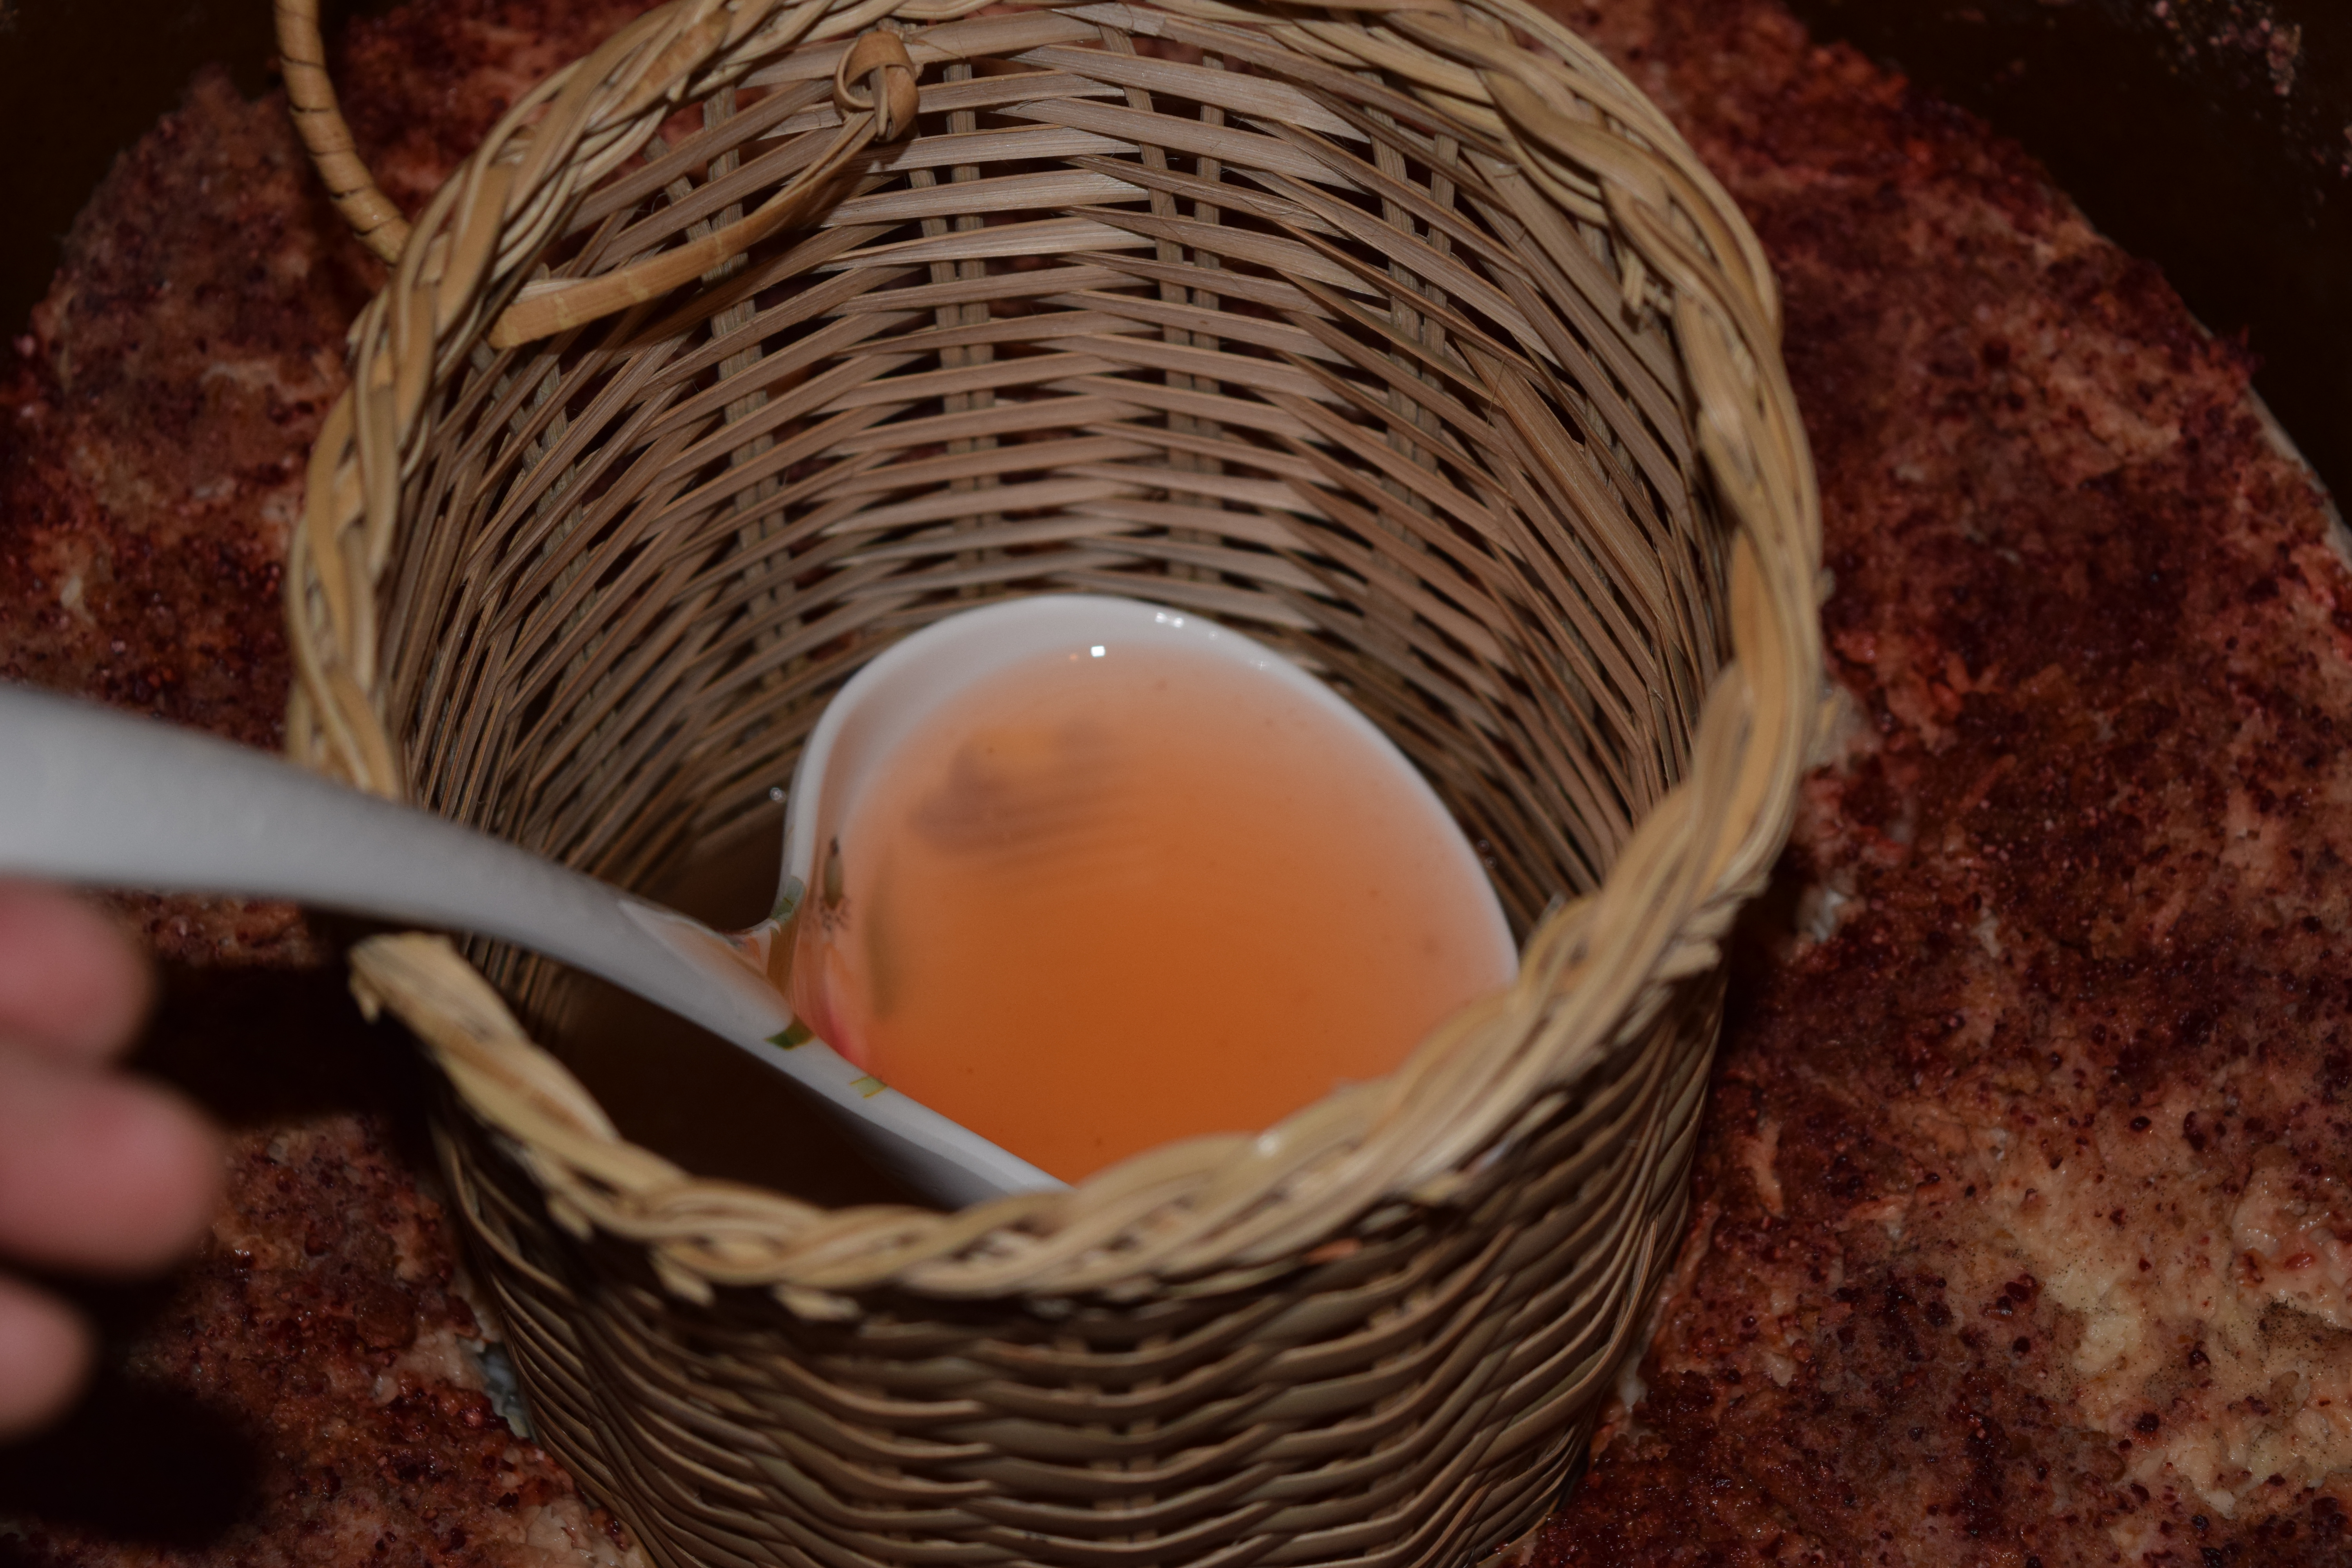 it is quite clear, hurray!
Though it is called yellow rice wine, it is actually more orangey than yellow and obviously it is from the red rice yeast.
Oh, one more thing, I sterilised all of my utensils in boiling water — ladles, funnel, sieve and bottle caps etc.
After the wine was harvested I put the wine on the stove for a very quick boil.
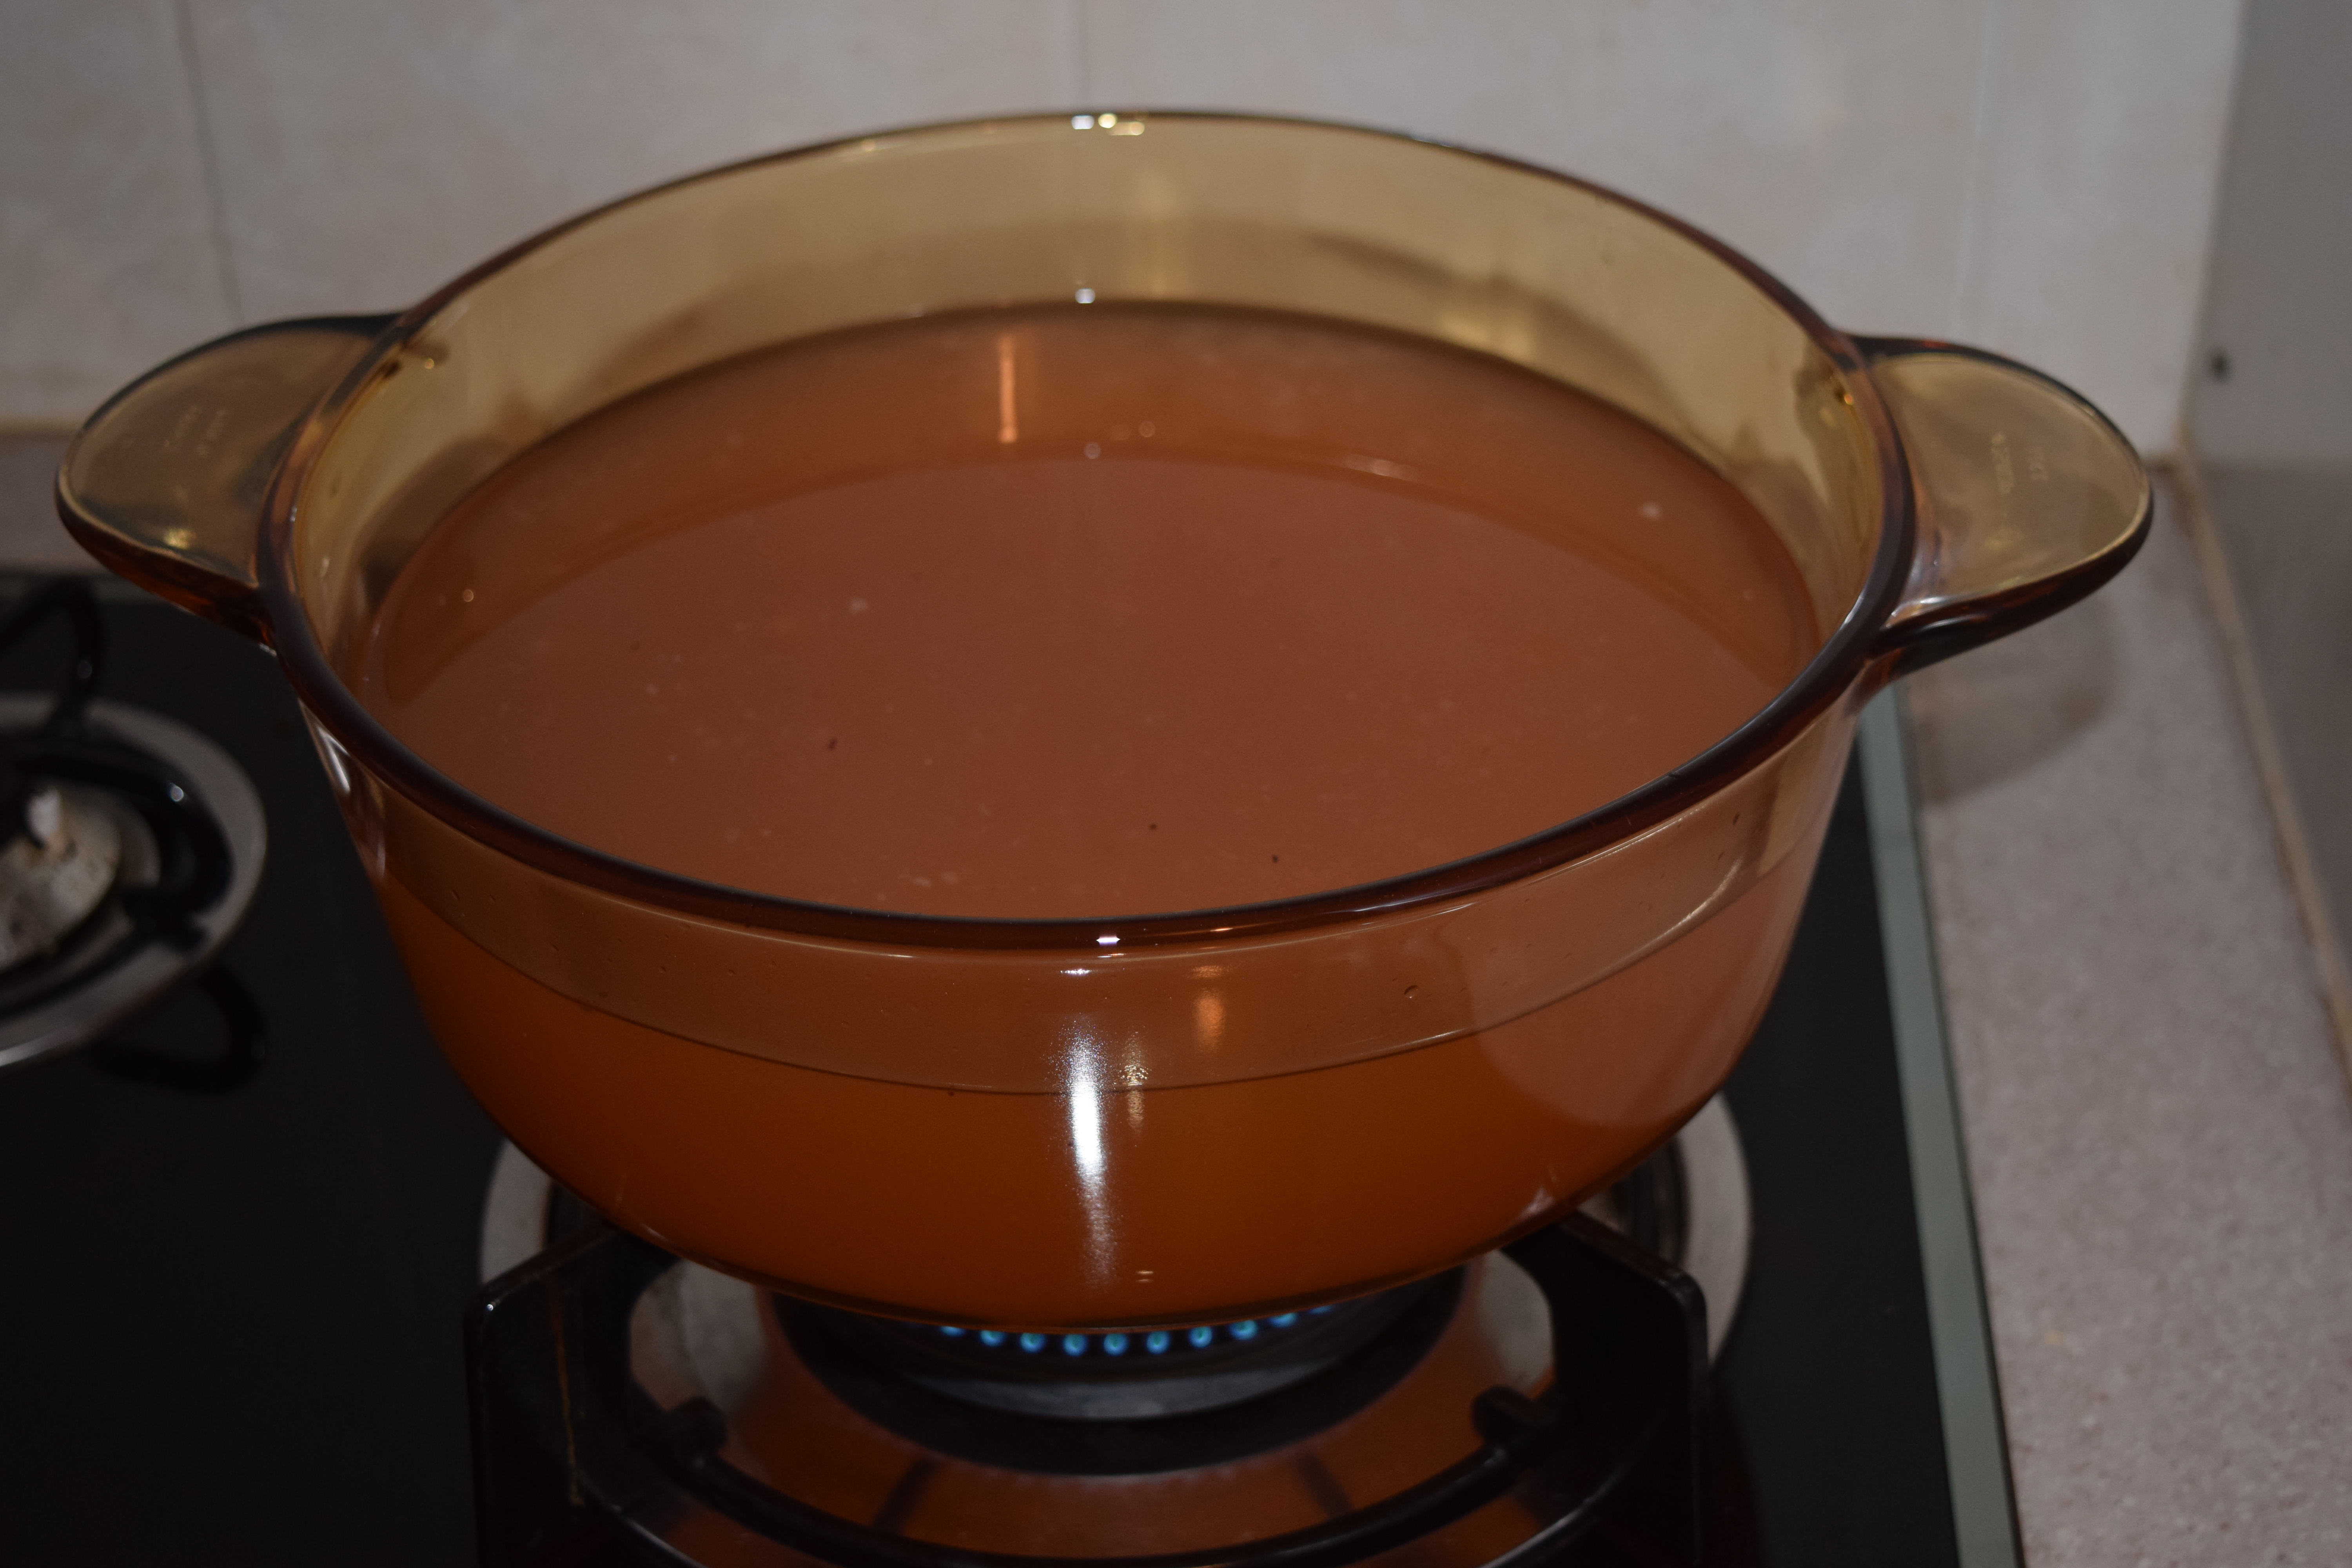 a quick boil
Some people said I shouldn’t boil the wine but mum and all the aunties that I know all did it. I found out later that giving the wine a quick boil is to stop the fermentation process and to pasteurise the wine as heat kills the microbes.
 while the wine is on the stove, I sterilise my bottles
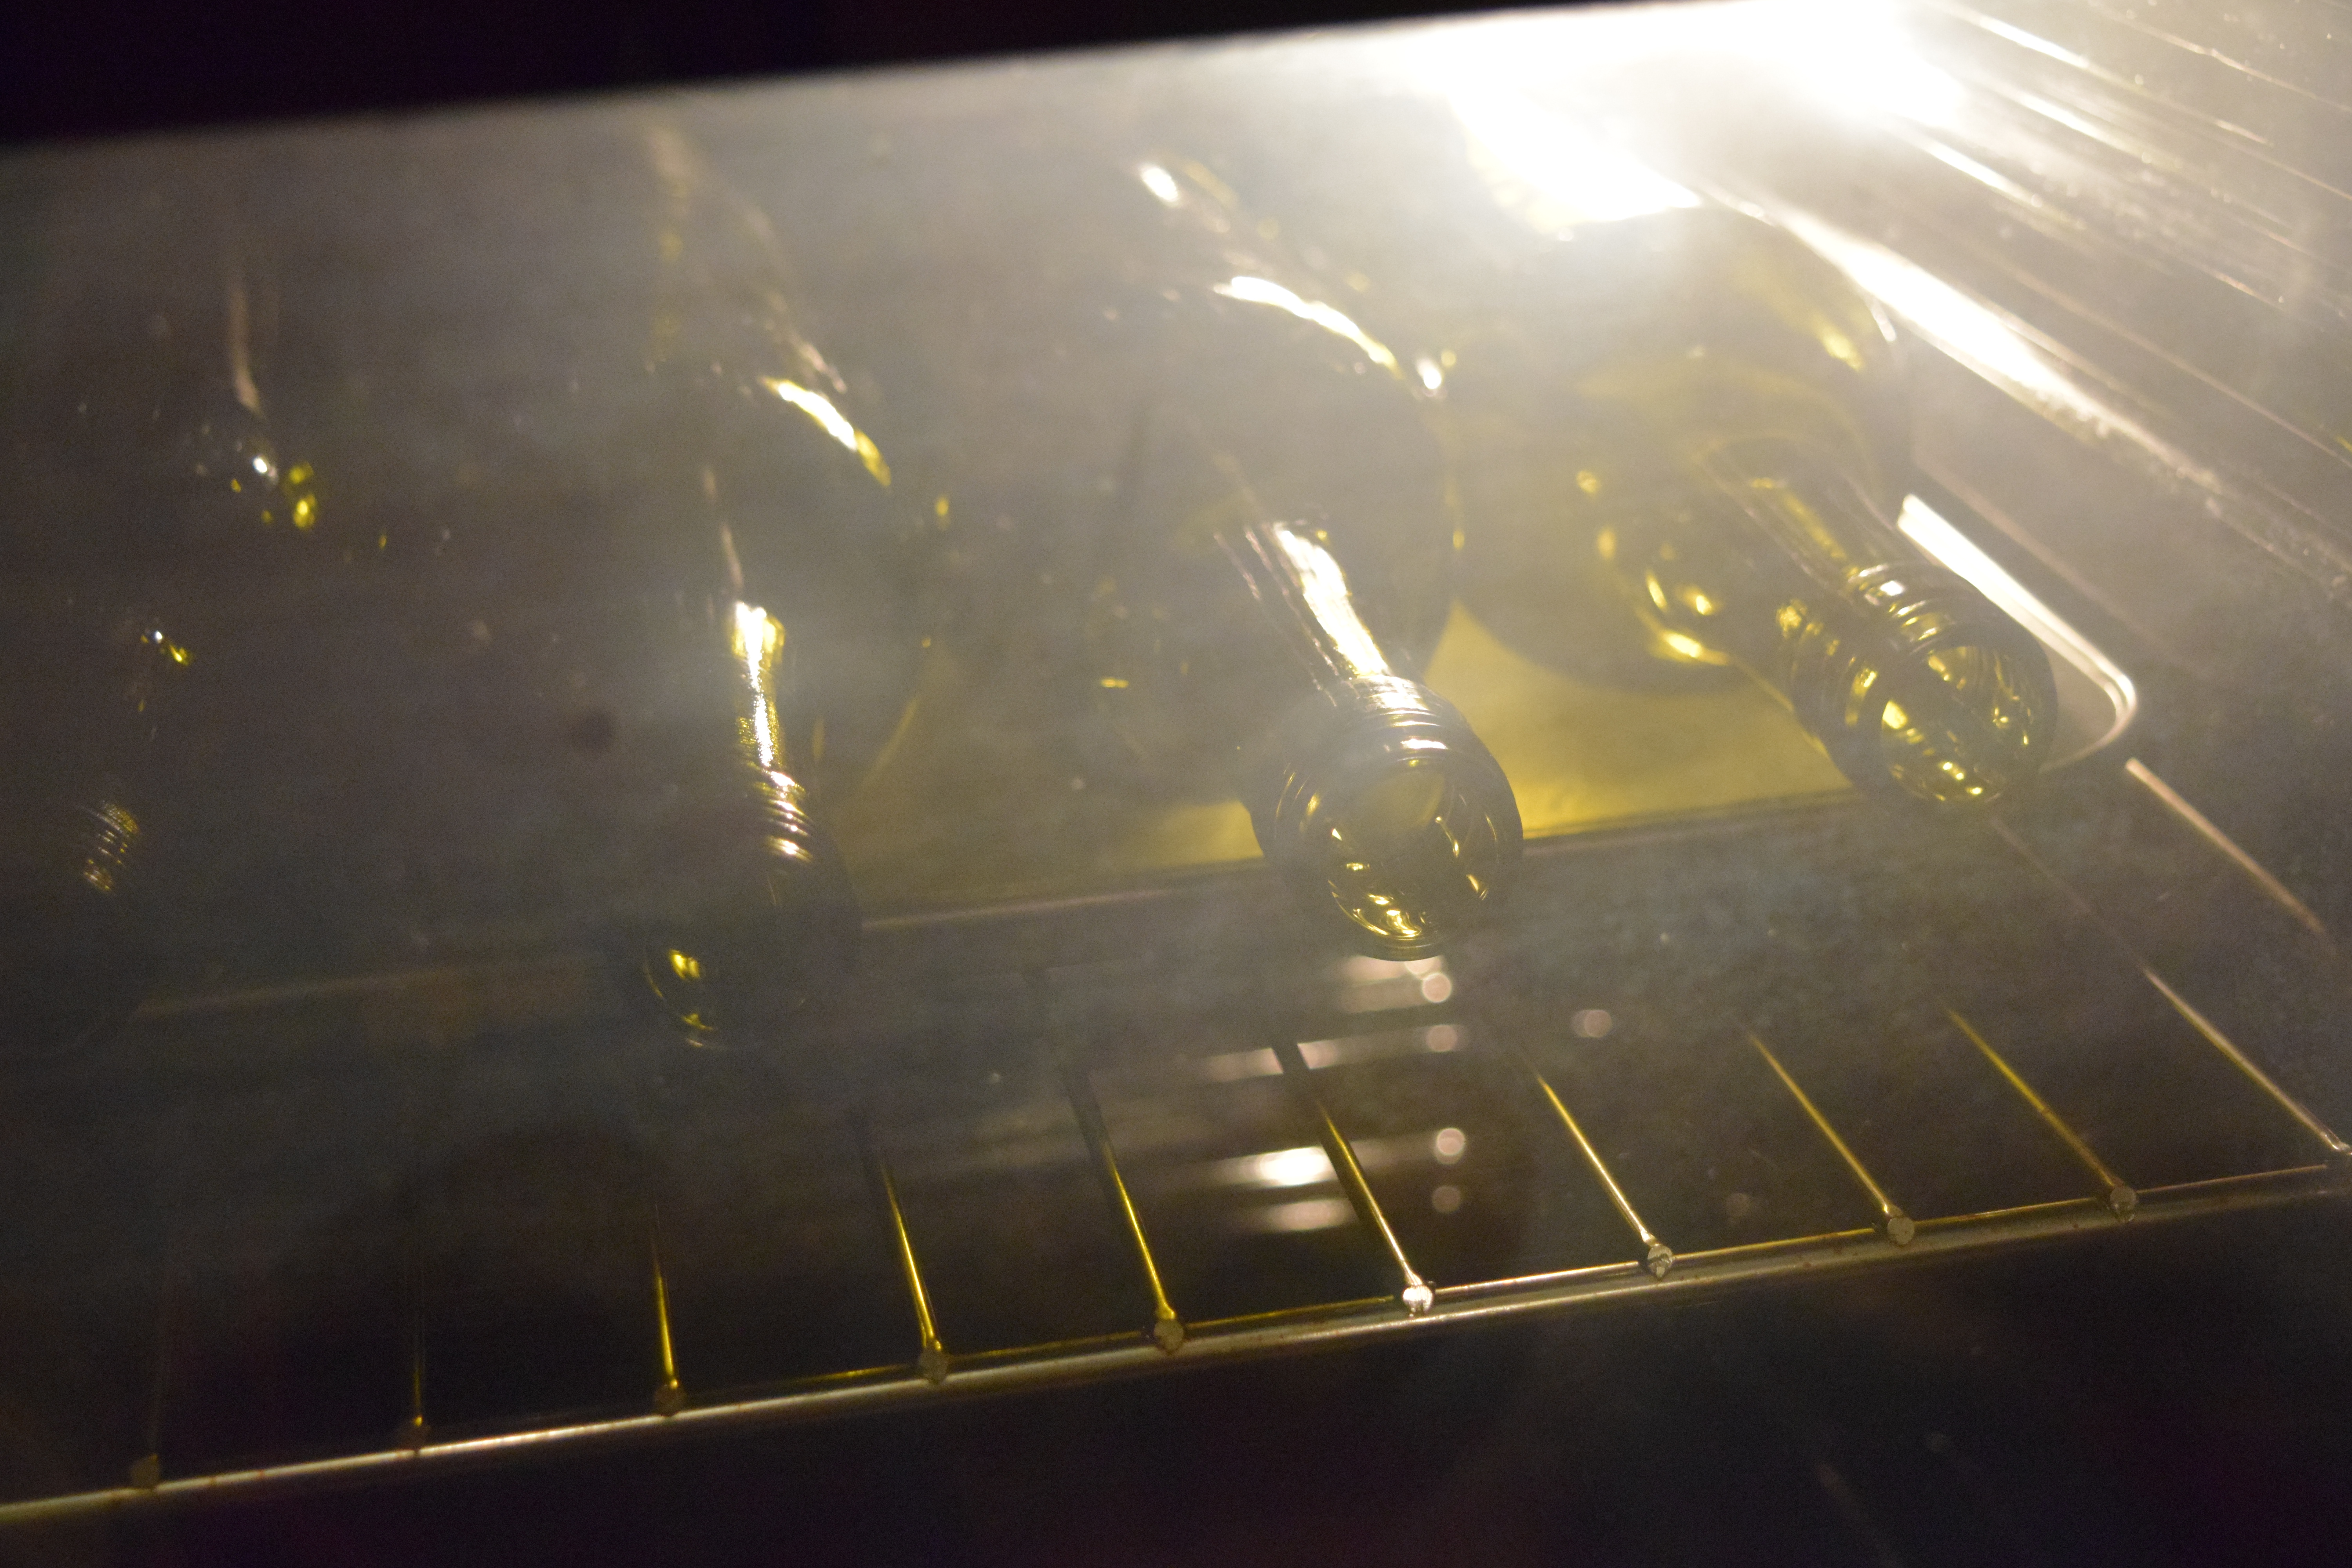
I don’t have a dishwasher so I sterilise my bottles in the oven.
Now get back to the wine…
 let the wine cool…
 ready for bottling after the wine had cooled down
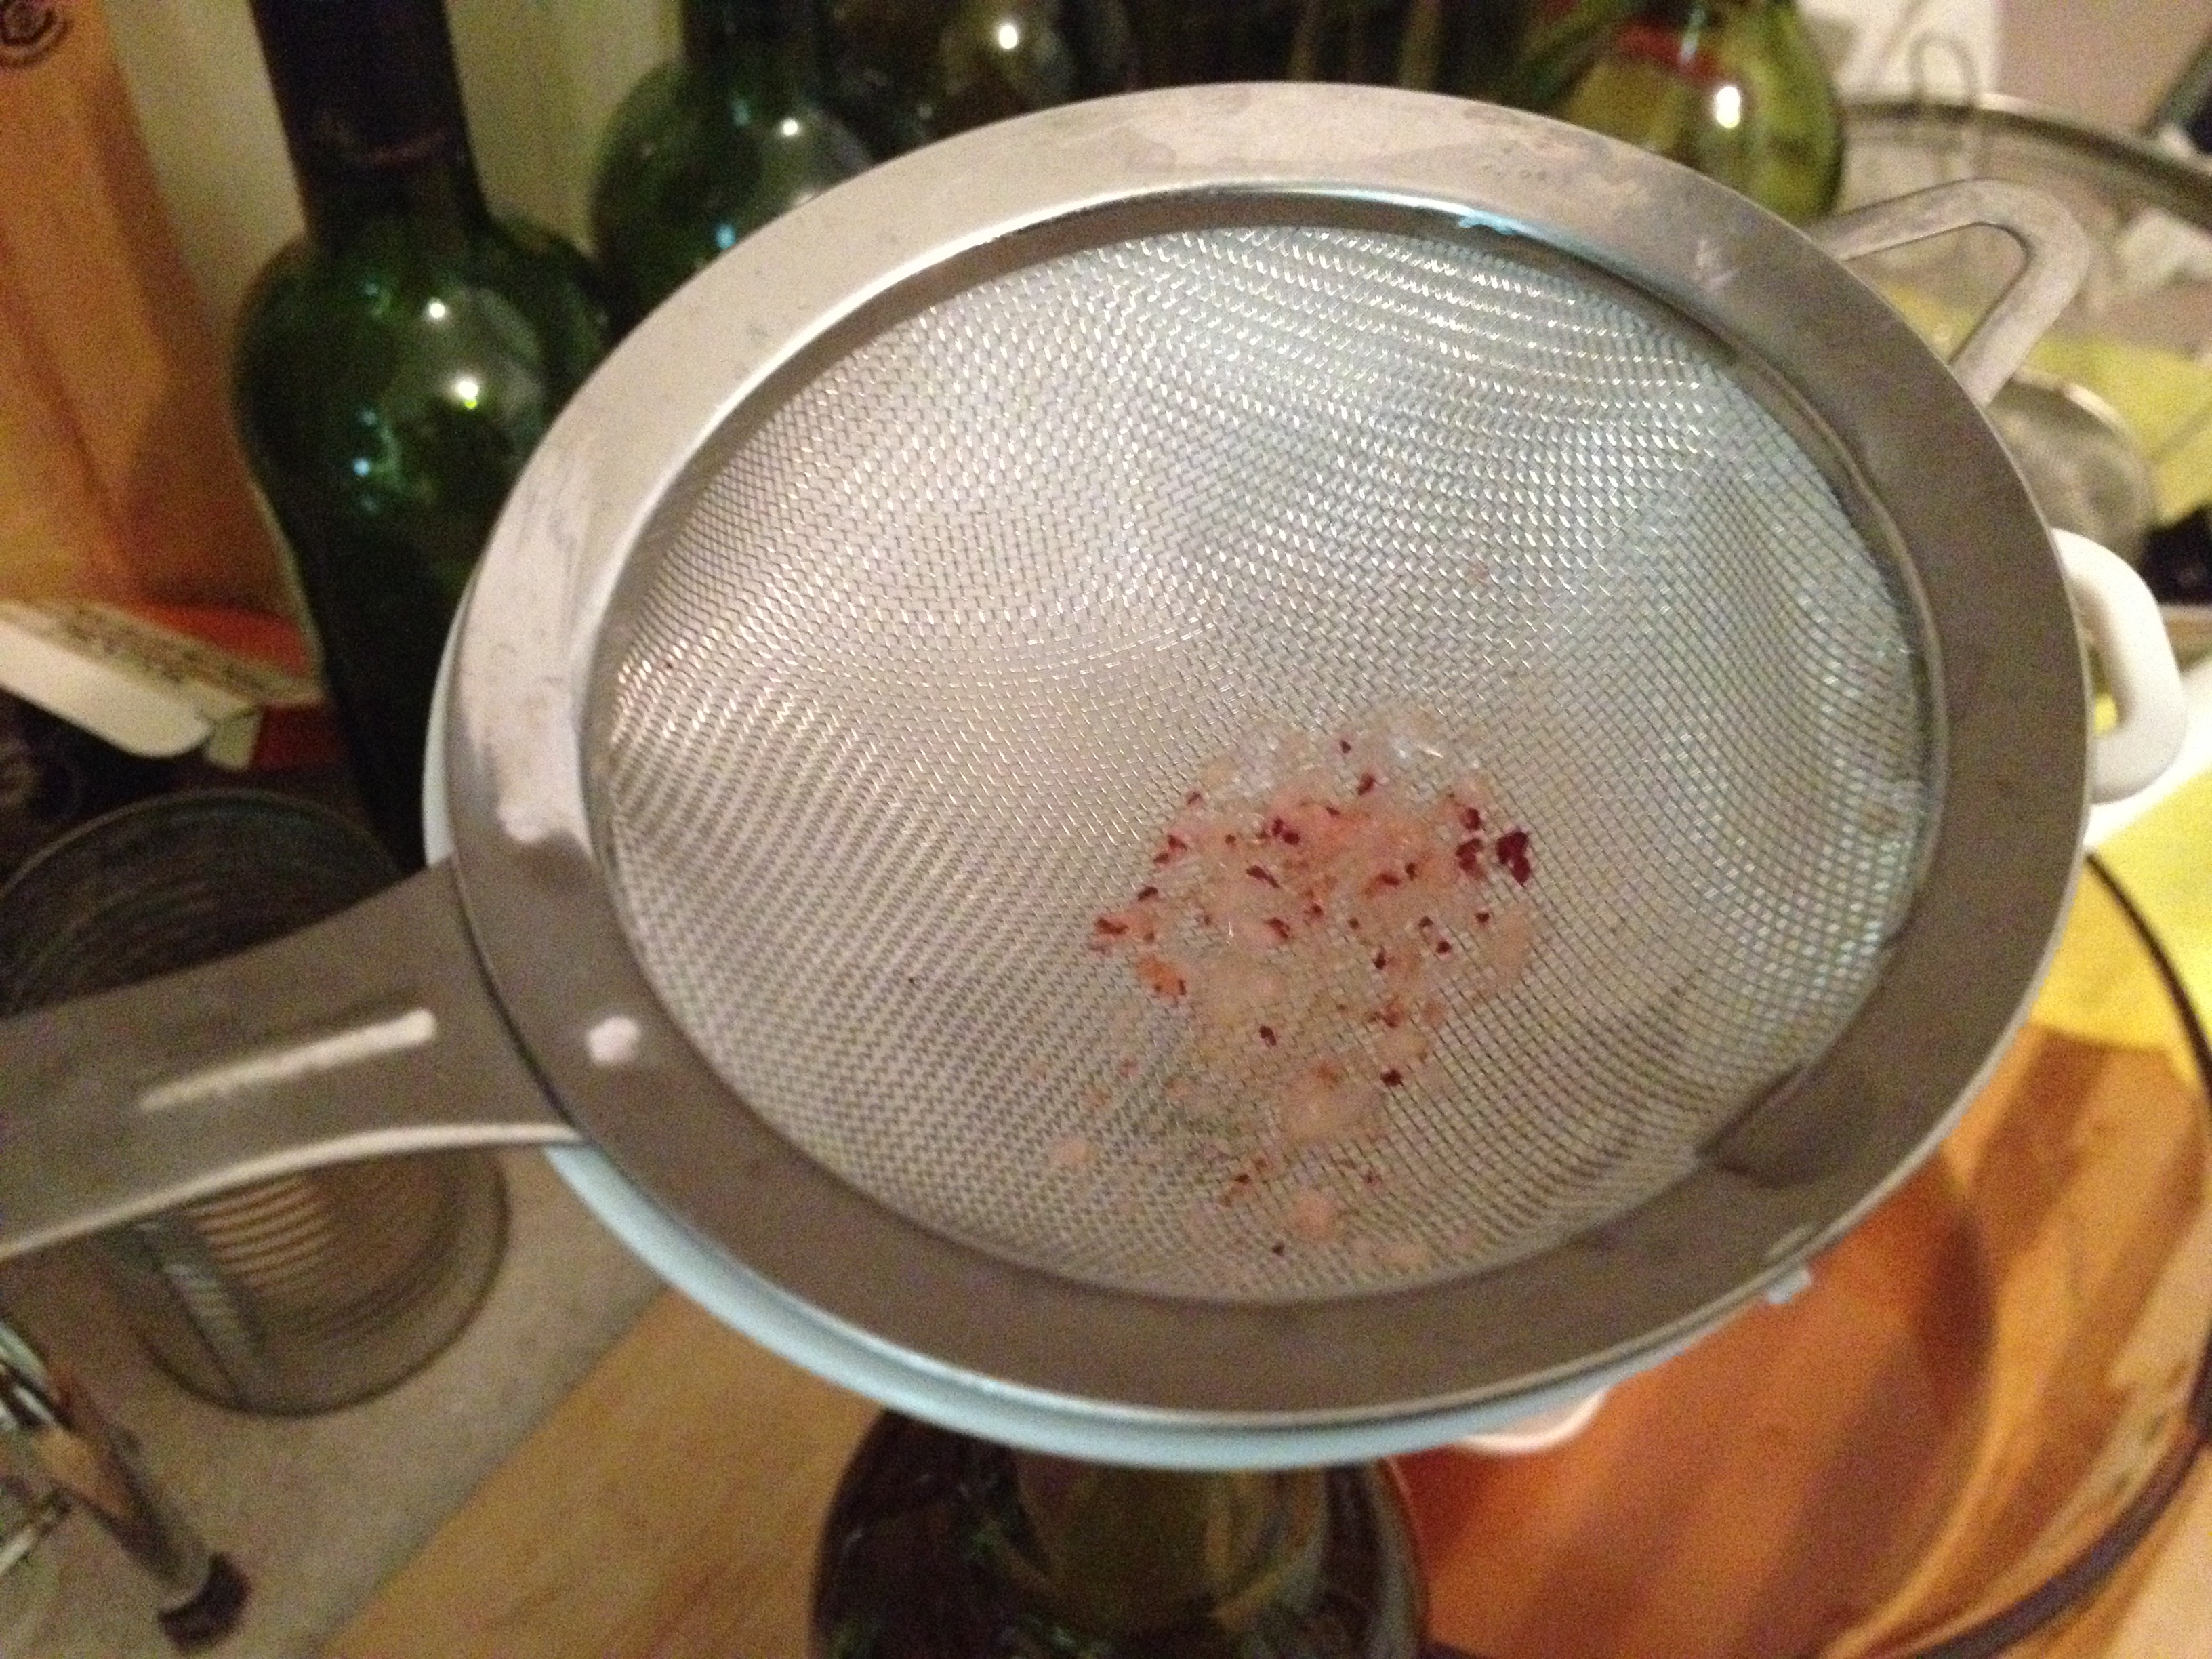 don’t forget to use a sieve during the bottling process
I think I would use muslin to strain the wine next time so that the wine will be even clearer.
 after the first harvest…
I left the bamboo sieve in for another 3 more days to collect the rest of the wine.
Although I didn’t manage to get 1 bottle of wine for each kg of rice as it is normally expected, it was still a great success to have gotten almost 4.5 bottles for my first attempt on making delicious Chinese yellow rice wine!
I gave a bottle of my “first fruit” to mum and dad and a bottle to my sister, and they were very well pleased with my effort. I am now planning on making chicken in homemade rice wine a.k.a drunken chicken for dinner one night… hmmm, yummy and I cannot wait!


Where can find the king car brand rice wine yeast
LikeLike
Great article! Thank you for sharing. Is it true the wine starts off very sweet but as fermentation continues, the sugars responsible for the sweetness turn into alcohol and acid? Last night, I tried making rice wine using a similar method as yours. I tasted a little today (Day 2); it was surprisingly sour with very little alcohol content. I added table sugar, attempting to restart fermentation. Not sure if I kept the batch too warm initially, speeding the conversion into acid or if given a little more time, the alcohol and sweetness will come through.
LikeLike
Hi Kay, thank you for reading this old blog of mine and even attempted to be a rice wine-maker! 🙂
If you followed what I did by using the red rice yeast and rice wine yeast, then the fermentation should take place by itself and absolutely no sugar is required. The sweetness is from the rice/starch and the yeast and enzyme will turn it into alcohol. I must say expecting to taste wine on the second day is far too enthusiastic. Give it time, a few more days and with the natural process of fermentation, I bet you will start detecting the scent of alcohol in the air.
What we usually do, or more correctly don’t so is to disturb the pot during fermentation because it would introduce bacteria to the pot and there will be a high chance that you will see mould . I would advice you to leave the pot until harvest time.
Good luck and hope you produce successfully a few bottles of delicious home brew! Keep me updated.
EVON
LikeLike
I really like to learn this process from you. I have not learned this yet.
LikeLiked by 1 person
That reminds me I should do it again!
LikeLike